
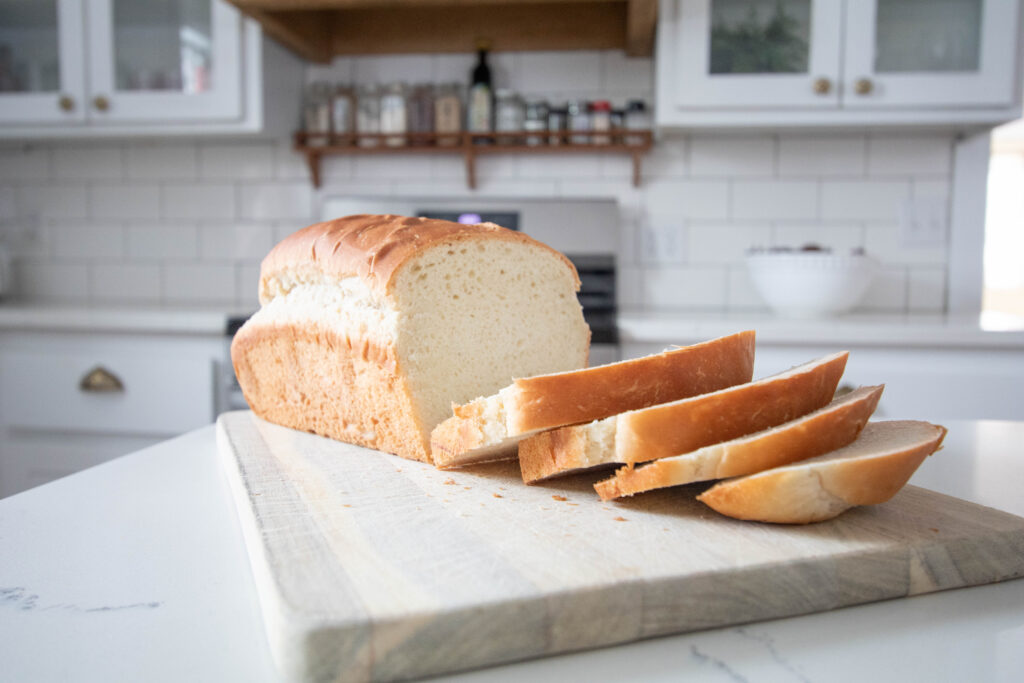
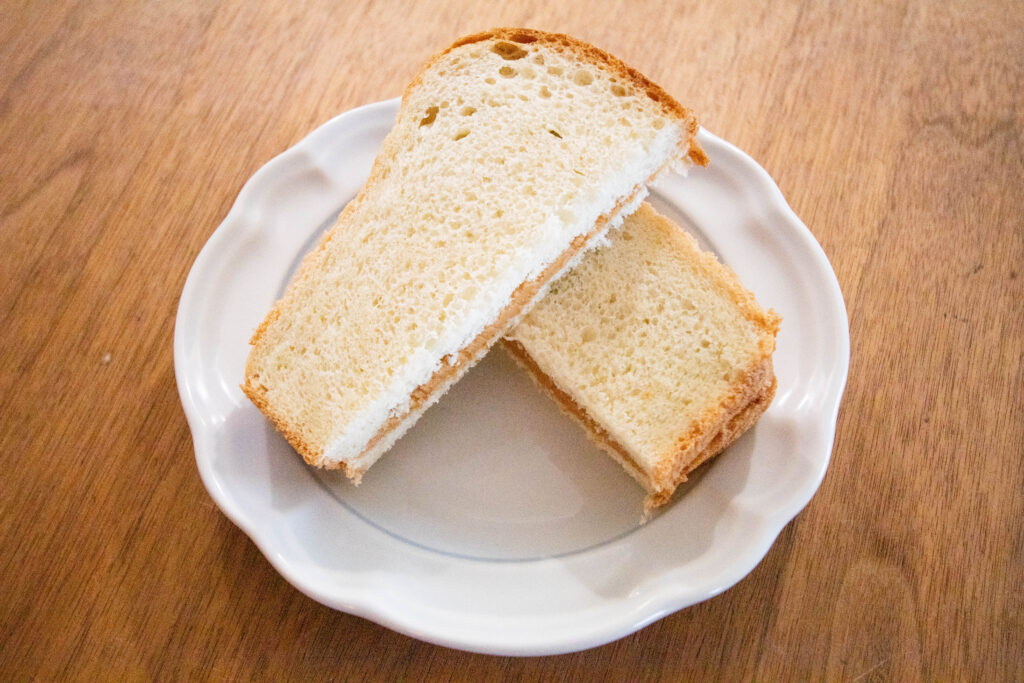
This homemade sandwich bread recipe is perfect for a beginner baker! It whips up quickly and in the end you’re left with soft bouncy homemade bread perfect for sandwiches, toast, or anything else your carb-loving heart desires!
A Chaotic Morning in the Kitchen
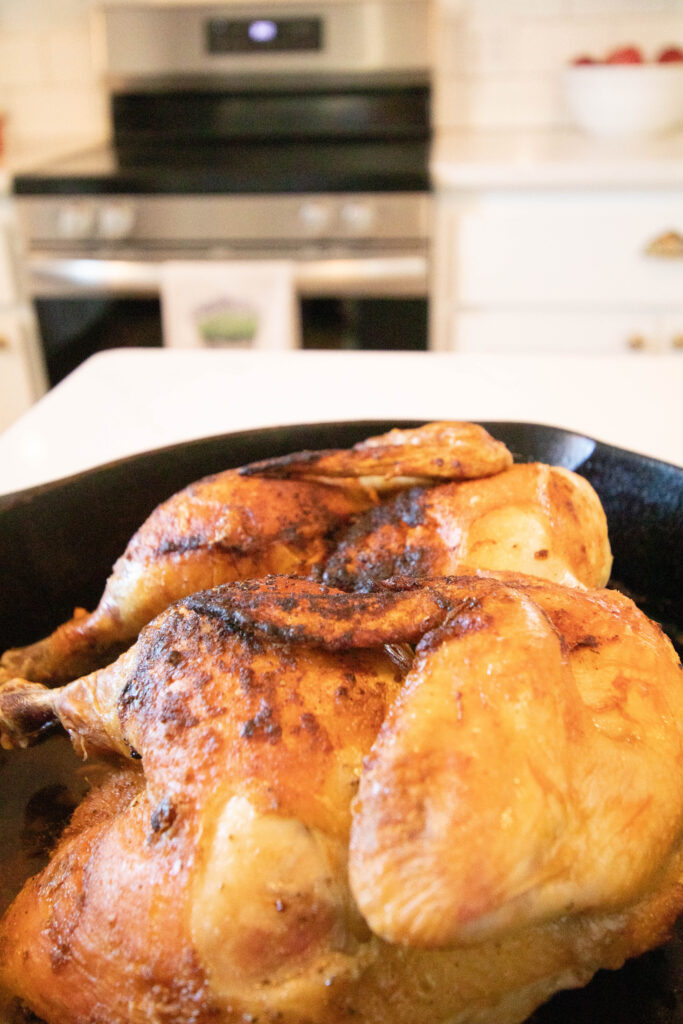
This morning ended up being a bit more eventful in the kitchen than I had anticipated. My Kroger delivery came during morning nap, which was lovely. Unfortunately, though, one of my whole chickens had a hole in the package. This resulted in an unpleasant amount of raw chicken juice on a large portion of my kitchen.
In the chaos the other whole chicken got left in the sink for longer than I was comfortable with and needed to be cooked. So that was swiftly Spatchcocked and thrown in the oven. I wasn’t quite sure what I was going to do with a roasted chicken at 11am but we’d cross that bridge later.
As the chicken was cooking I remembered that we needed bread and figured I would get that going as well. I’ve been making this specific homemade sandwich bread recipe for over a year now. At this point I don’t even measure much. I just throw all the ingredients in and I’ve never had it go wrong yet!
Step 1: Melt Butter
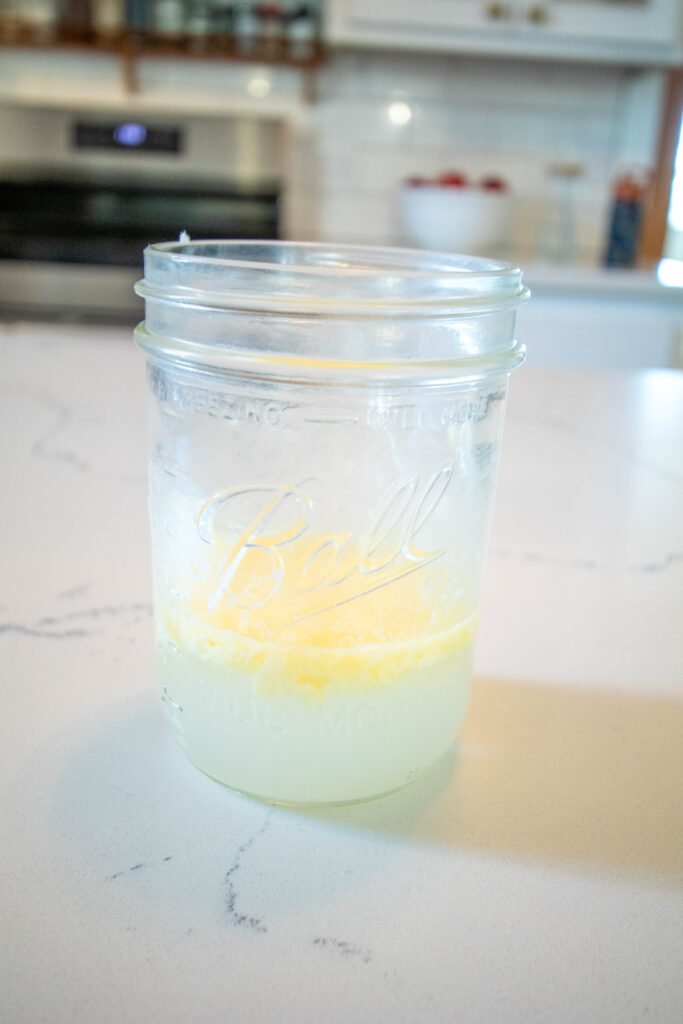
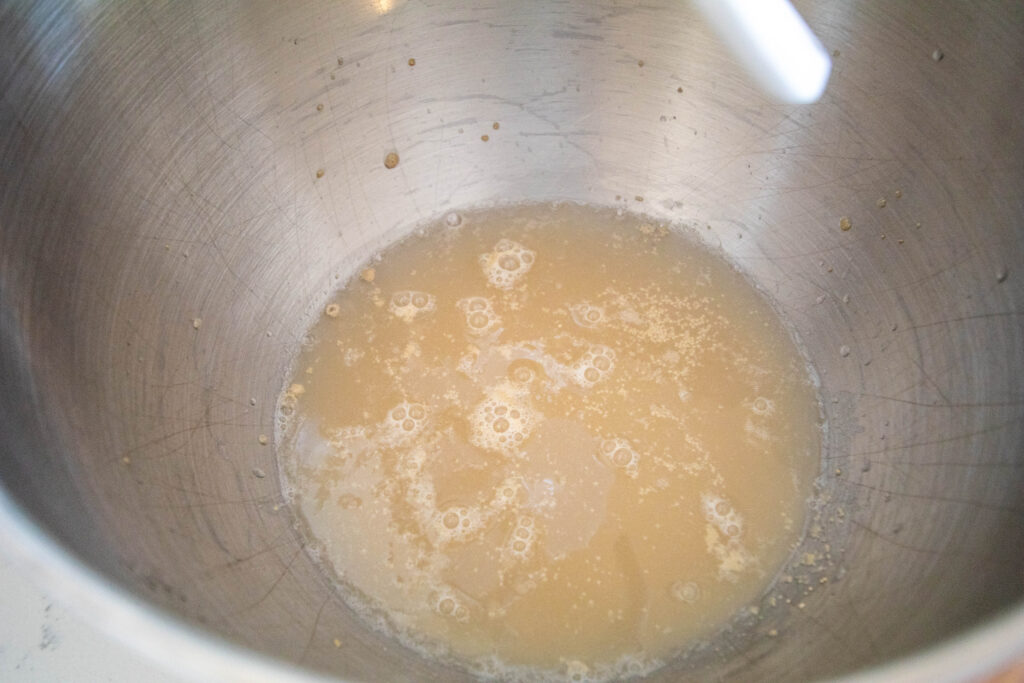
My sandwich bread recipe uses melted butter which is a bit of a sore spot for me. I haven’t had a microwave in years and melting the butter on the stove top gets it too hot. I always have to cool the butter before adding it to the yeast and typically I let it cool too long and it’s pretty much just room temperature butter again. So I came up with this trick that works great. I take a few pads of butter and put it in a cup with a ½ cup of very hot water. If the butter was fresh out of the fridge I would probably use boiling water. But for room temperature butter hot tap water works fine.
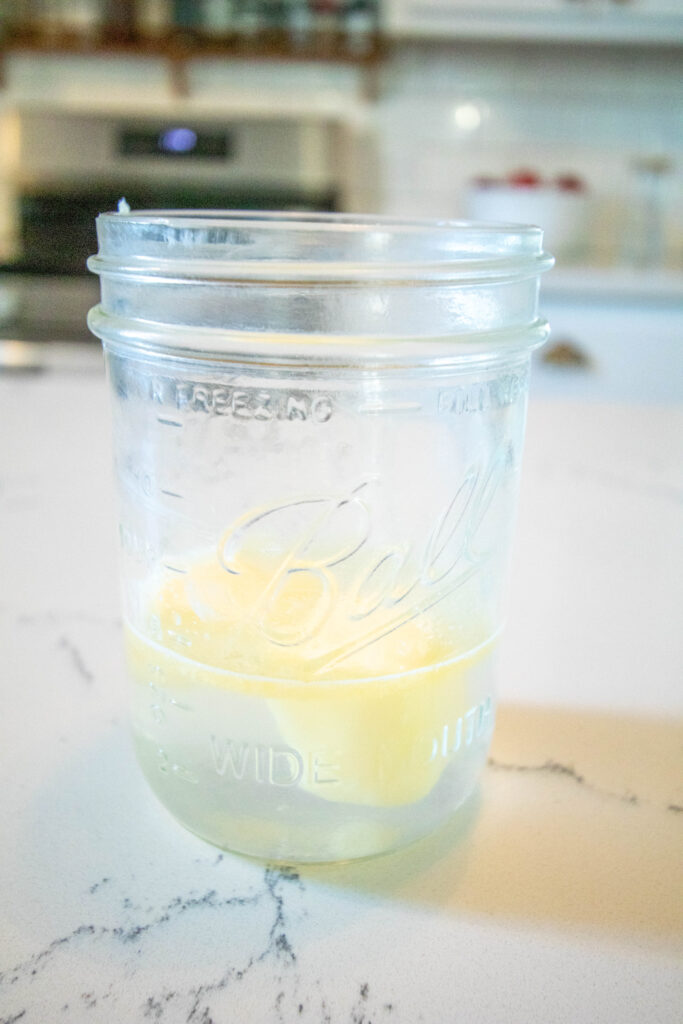
I let this sit while I get the bread started and by the time I’m ready for it, it’s melted. If I’m trying to move quickly I’ll mash it around in the water with a fork, but typically I just let it do its thing. Once I’m ready I just dump the whole thing in the mixer.
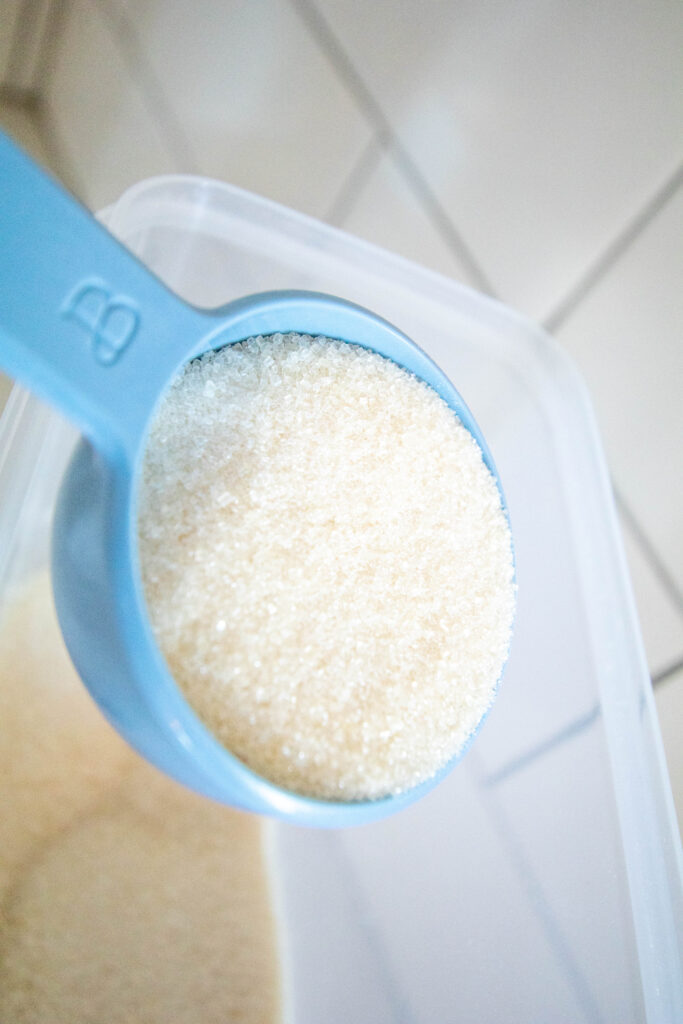
Step 2: Add Sugar or Honey
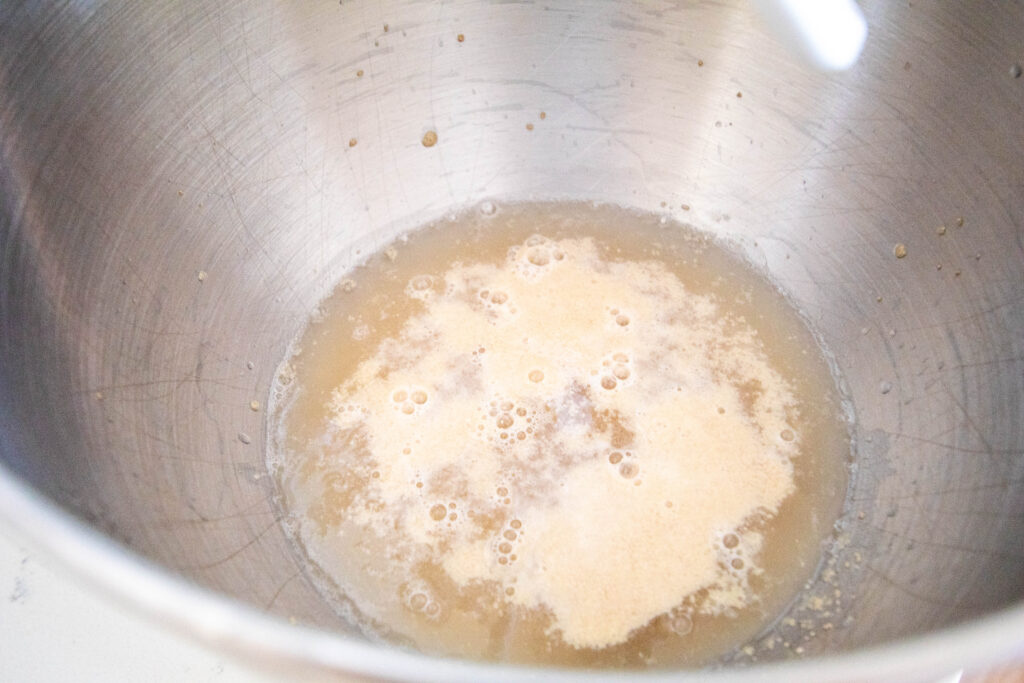
I will usually use honey for this bread recipe, but occasionally if I’m running low I’ll use cane sugar. If my honey is crystalizing or I’m using sugar I will take another ½ cup of very hot water and mix it together with the sugar in my mixing bowl. This just helps dissolve the sugar a bit.
Now I wouldn’t want to move on to step three without first cooling the water. If the water is too hot it will kill of the yeast. So I add the remaining 1 cup of cold water first. (There are 2 cups of water in the whole recipe. 1/2c for the melting butter, ½ cup for the sugar dissolving, and 1 cup of cold = 2 cups)
Step 3: Add Yeast
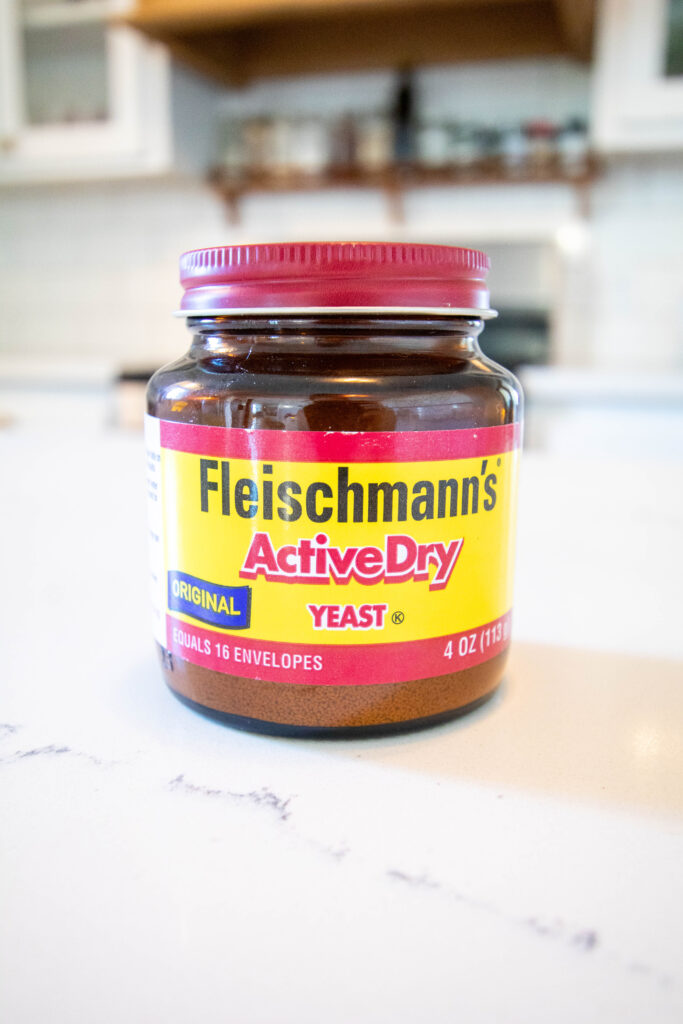
Now that I’ve cooled my water I’ll add the yeast. For yeast I typically get Bella Rise from Sams and keep it in my freezer. We are currently in the middle of a move and my yeast hasn’t yet made the journey so I’ve been getting by with the instant yeast packets. Today; however, I got a jar of Fleischmann’s active yeast and it worked great.
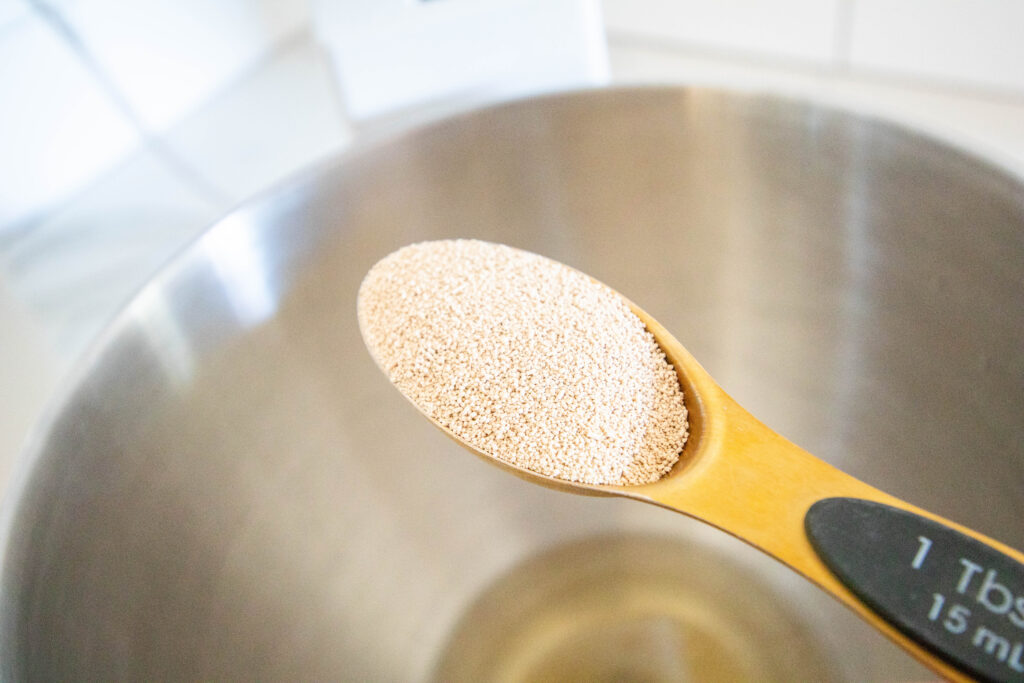
Once I’ve added the yeast to my warm sugar water mixture I let it set for around 10 minutes. Or however long it takes to get a few close up shots of a Fleischmann’s Yeast jar. At first you won’t notice much of a change in the water and eventually the yeast may even drop to the bottom. If this happens don’t panic. It eventually will bloom and pop back up in all it’s foamy glory. If 10 minutes or more pass and it has not foamed your yeast might be un-alive which is unfortunate.
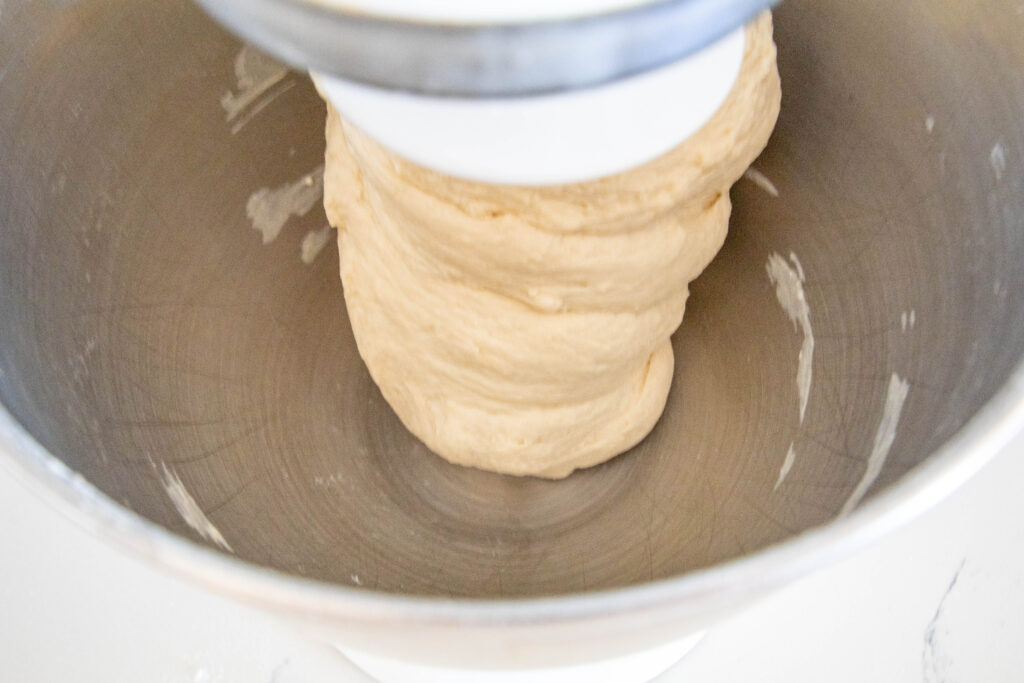
Step 4: Add the remaining ingredients and knead
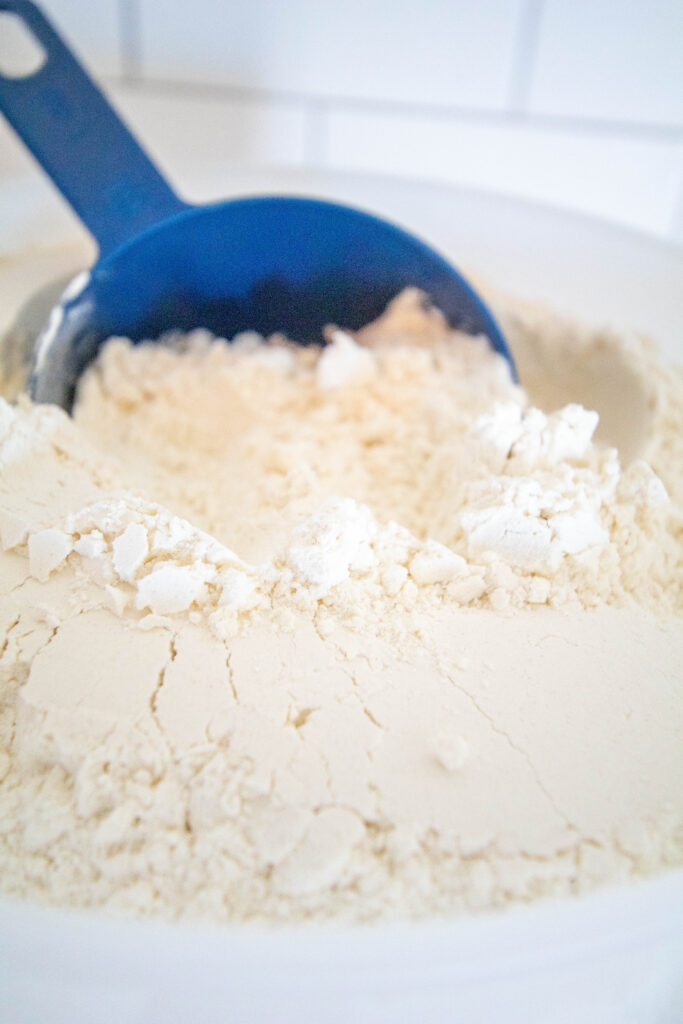
But assuming your yeast is alive and well, we can now add our butter water, salt and flour to the mixing bowl. Make sure to add ALL the flour before even starting the mixer. This has been the best mess free way I’ve found to incorporate the flour.
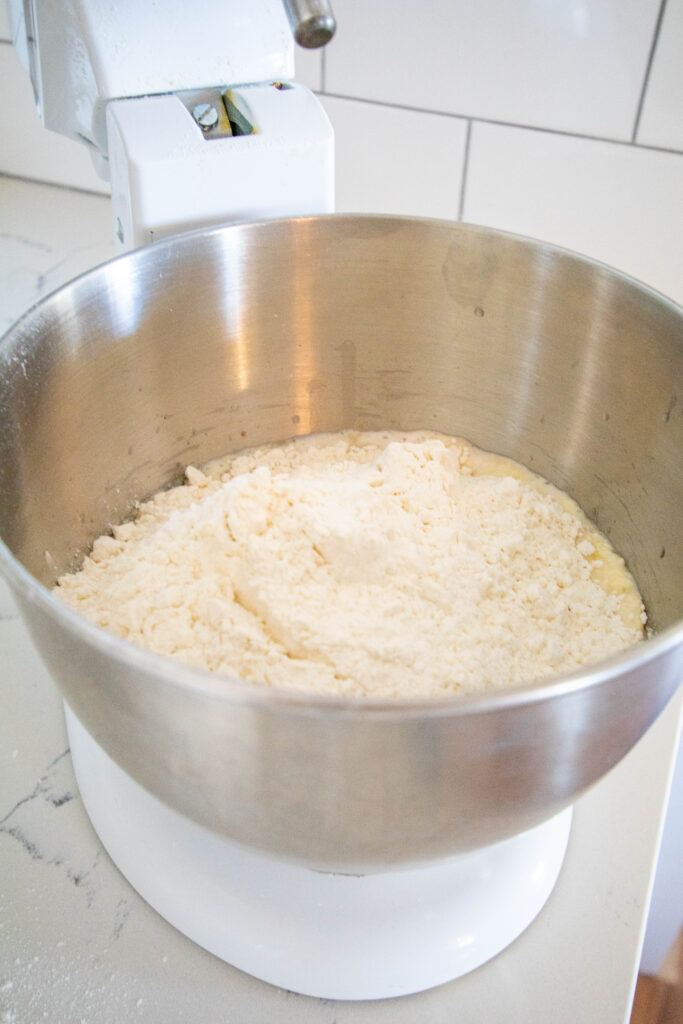
At this point I’ll set the mixer to 2 and just leave it doing it’s thing while I piddle about the kitchen. I usually leave it going for at least 5 minutes. If during this time I check it and notice there is a portion of the bread at the bottom of the bowl that is sticking to the bottom at all times, (like it has contact with the bowl at all times and is just being stretched and not actually kneaded around in the bowl) then I will add more flour about ¼ a cup at a time till all dough is pulling away from the sides of the bowl.
If you do not have a Kitchenaid or bread mixer I would recommend mixing the bread with a wooden spoon at first. Once a shaggy dough starts to form you can knead the bread on a floured or oil surface for 5-7 min.
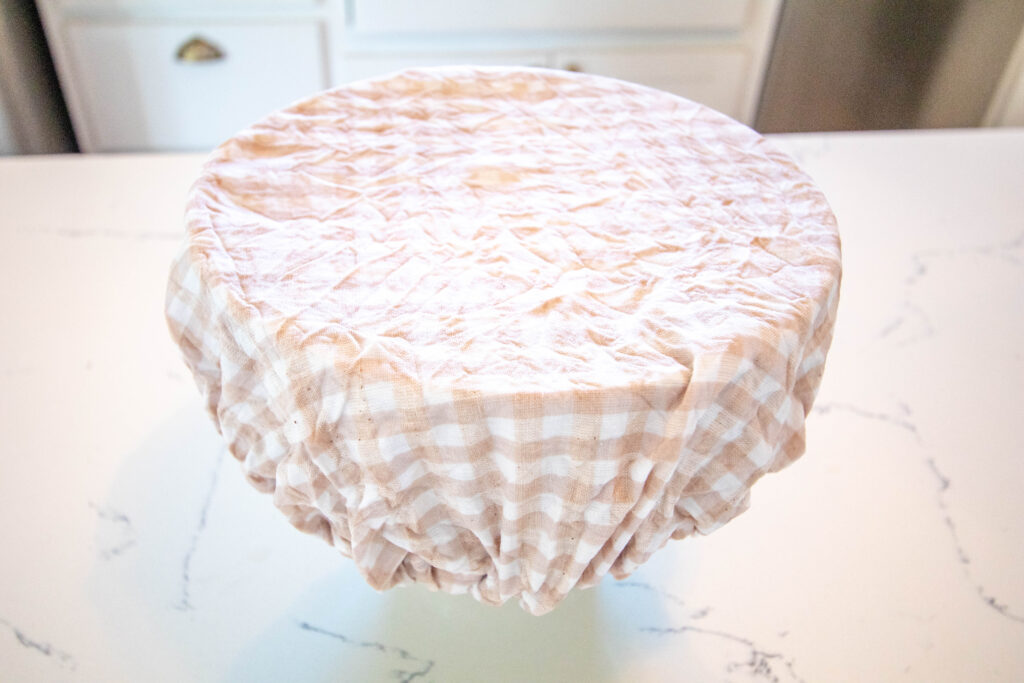
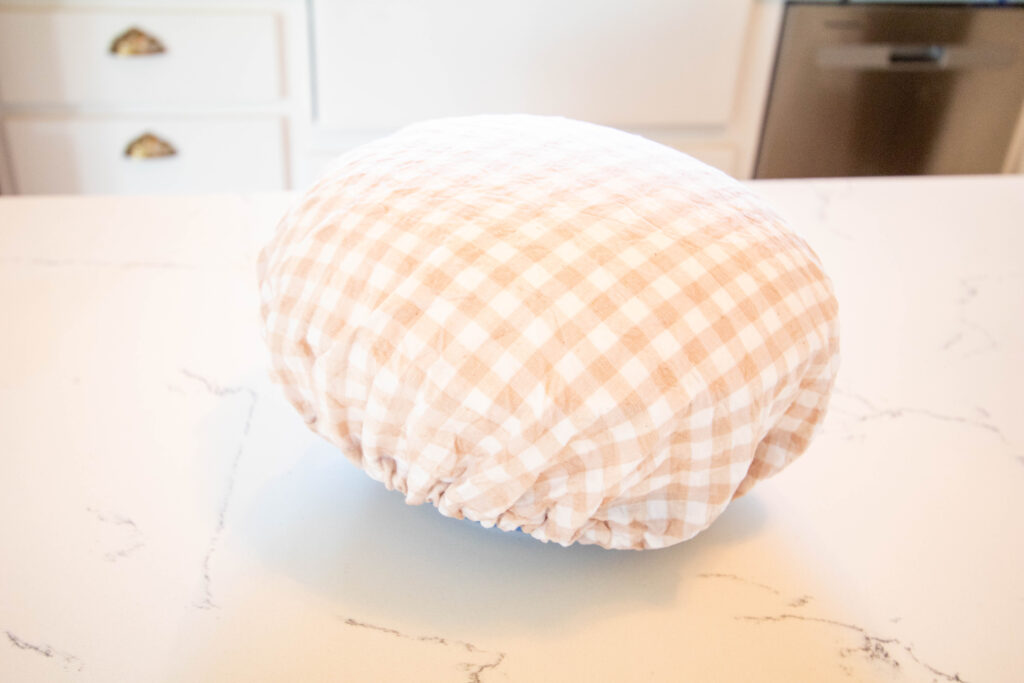
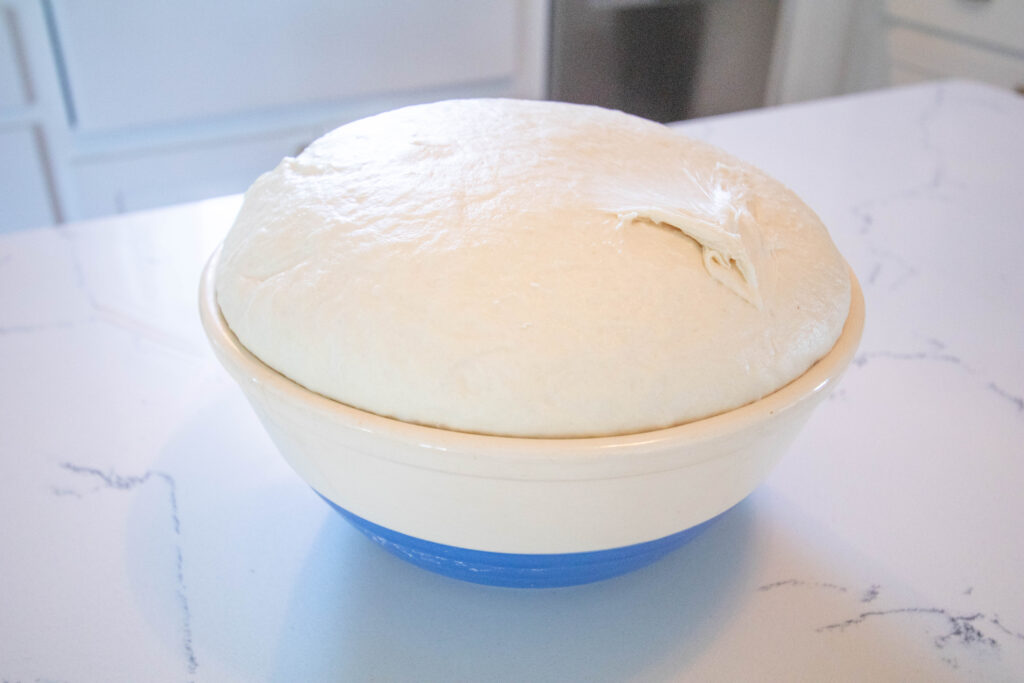
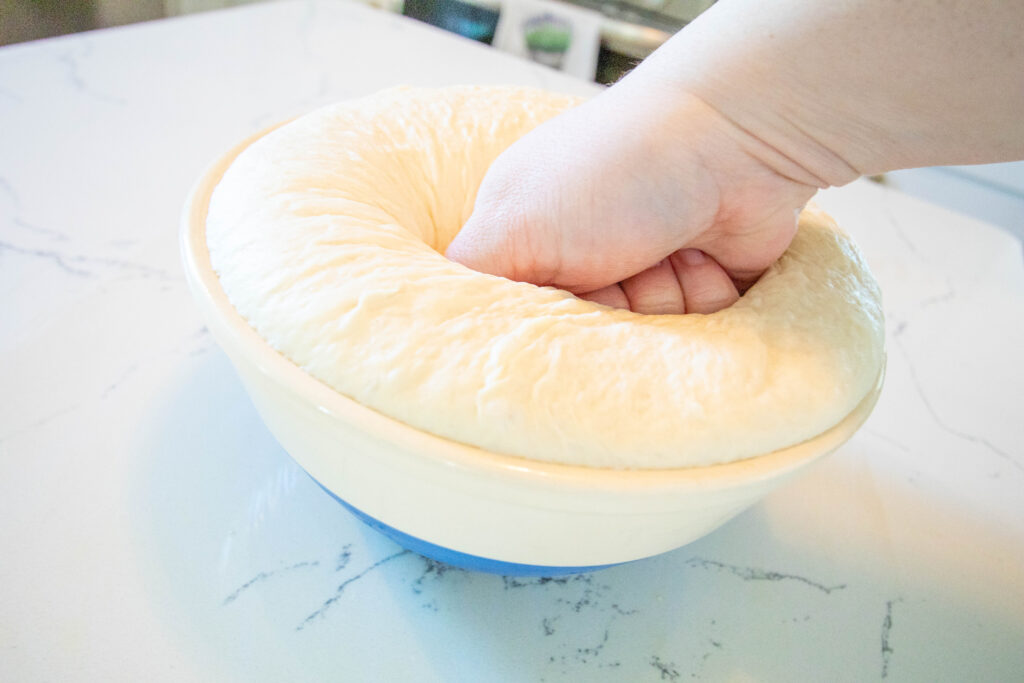
Step 5: First rise
At this point I usually just pull the dough off the hook and then leave it to rise in the bowl. On this day I needed the mixer for something else. I took the dough out, formed it into a ball in my hands and placed it in a bowl. Cover with a wet towel or bowl cover and place in a warm area to rise.
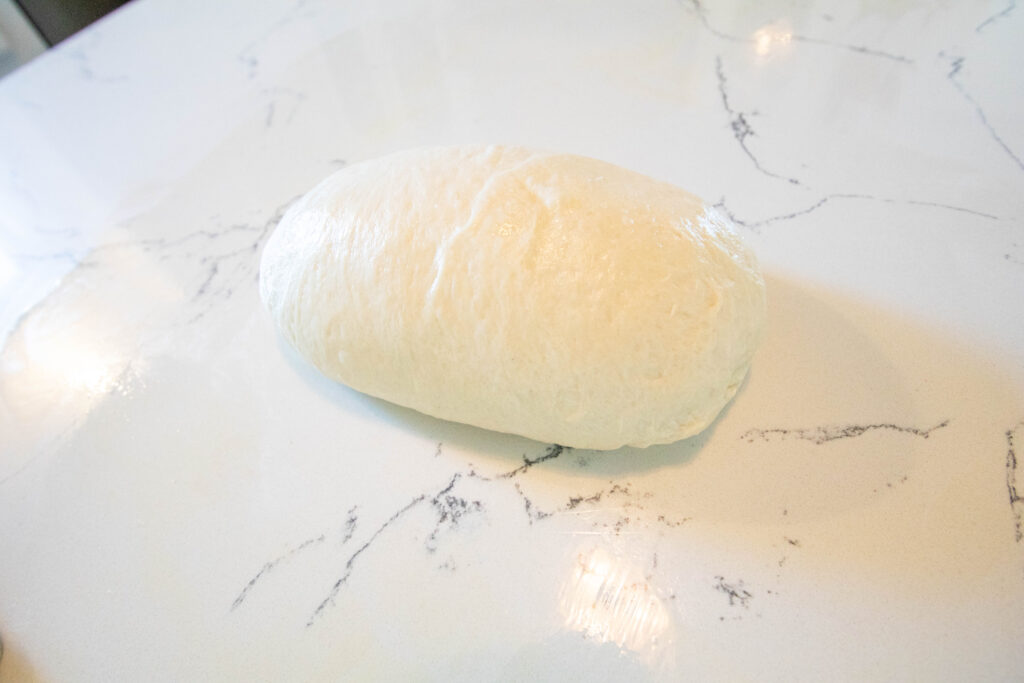
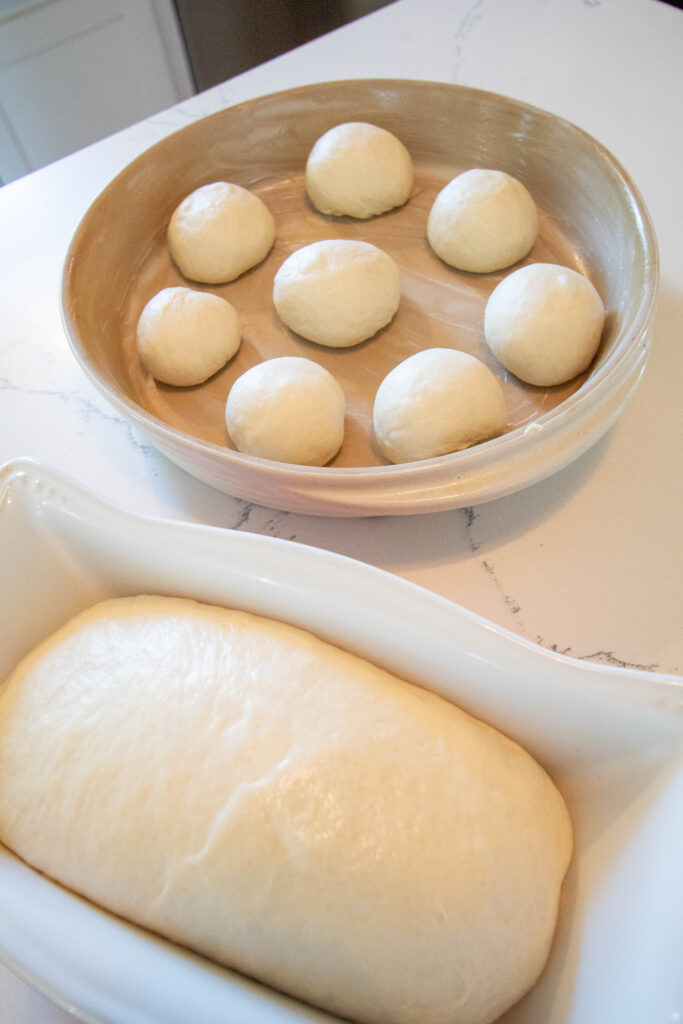
Step 6: Form into loaves
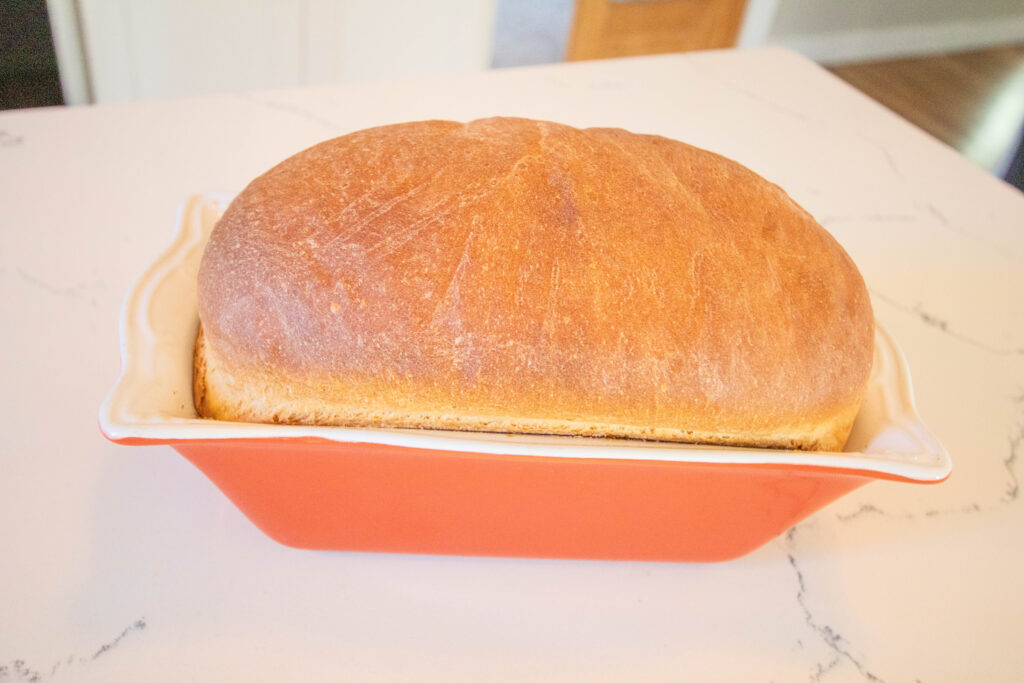
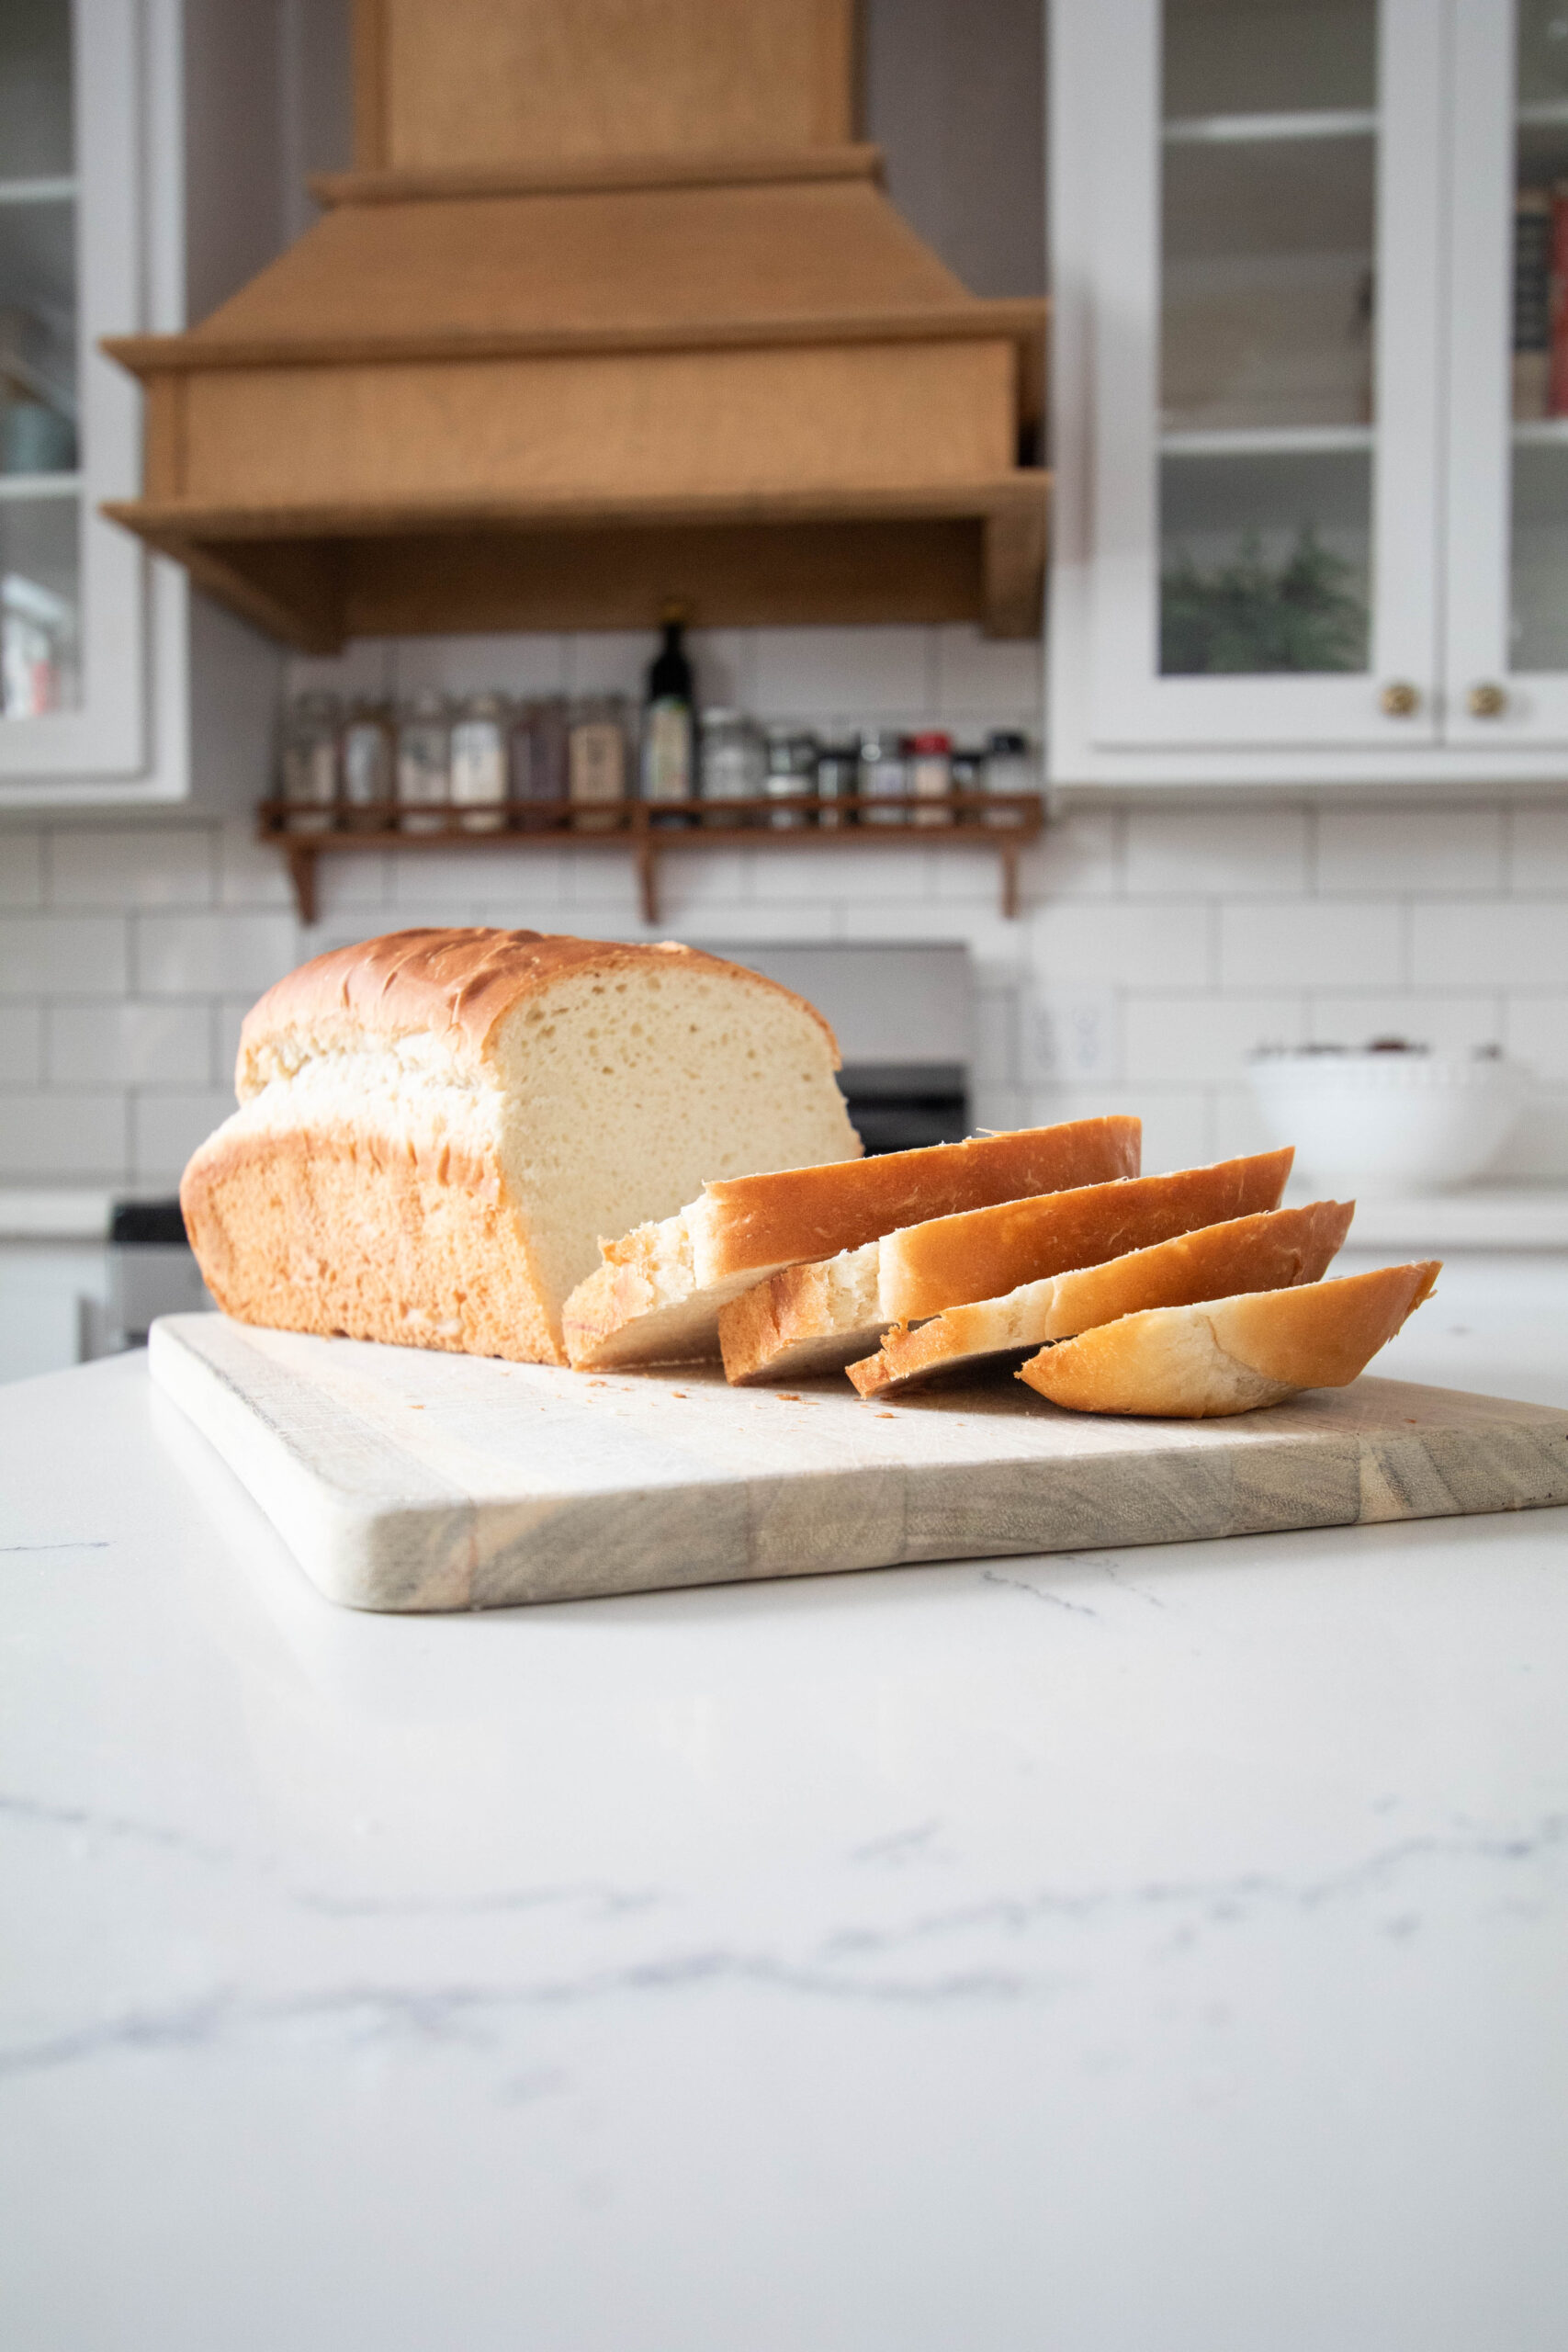
After it has risen you will form it into it’s final shape and let it rise one more time. This bread recipe makes 2 loaves. The day I made this I used half of the dough for rolls to go with dinner, so I only made 1 loaf.
To form the loaves I punch the dough down and dump it on to an oiled counter. I use a sharp knife or bench scraper to cut the dough in half. I roll the dough into a ball pinching loose ends together on the bottom side of the loaf. Once a clean ball is formed I’ll roll it back and forth to form an oblong shape. I transfer this to my greased loaf pan, pinched side down.

Step 7: Let dough rise for a 2nd time
For the second rise I will again cover with a wet kitchen towel or put a piece of saran wrap over it loosely. You wouldn’t want to tightly seal over the loaf pan because this would prevent the bread from fully rising. I let the bread rise again for about an hour. Towards the end of the hour I’ll preheat the oven to 350.
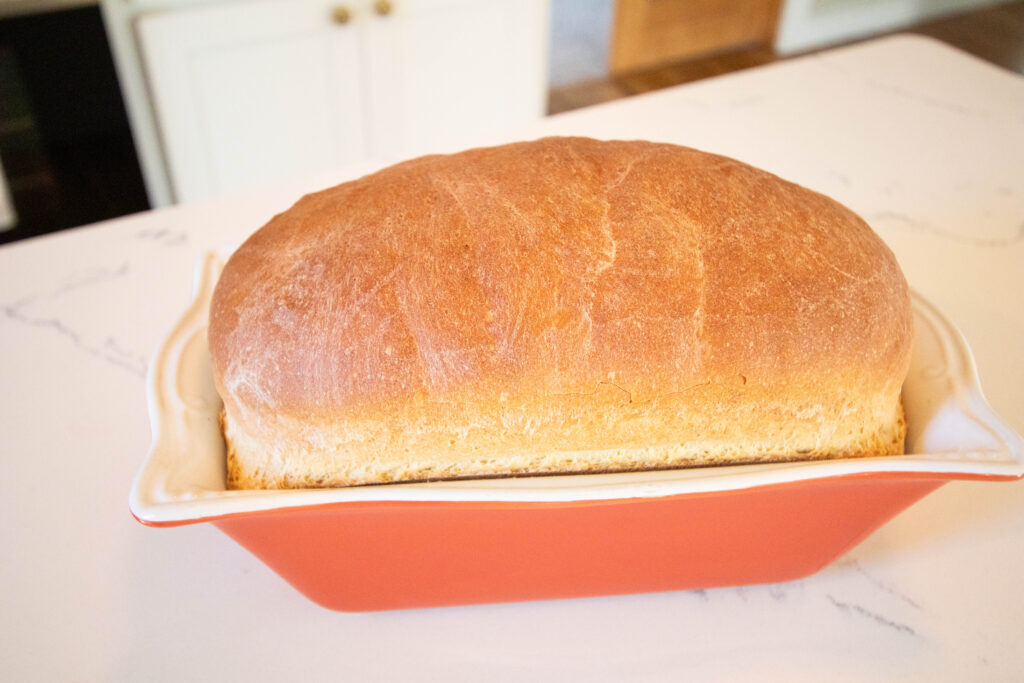
Step 8: Bake
Once the oven is preheated and the bread has risen substantially I’ll put the bread on a rack in the center of the oven. The bread usually take 45 minutes to bake but I will typically check it at 30 minutes. I do this just to make sure the top of the bread is not getting too brown.
Step 9: Remove from oven, cool, and enjoy!
Once the bread is evenly browned you can take it out and let it cool. I usually let it cool in the bread pan but if this is a no no you can take it out and cool it on it’s side on a cooling rack.
You’re all done!
And just like that you are a bread baker! This bread is so delicious. It’s perfect for toast, or sandwiches, and makes the BEST french toast. Any that remains after a few days makes great croutons, french toast bake, or bread crumbs.
Such a versatile dough!
I’ve used this same dough recipe for rolls, a french loaf, hamburger buns, pizza ,and even cinnamon rolls! You just can’t go wrong. It is the perfect easy homemade bread recipe for beginners! Give it a try and let me know what you think!
Easy Foolproof Sandwich Bread Recipe
Ingredients
Equipment
Method
- Add warm water to mixing bowl along with sugar and yeast. Let set for 5-10 minutes until yeast blooms.
- Add in additional ingredients and mix on level 2 (if using a kitchenaid) or 5-7 minutes or until smooth bouncy dough is formed.
- Cover bowl with a wet towel and leave to rise in warm place for 3 hours.
- Punch down bread and dump onto smooth oiled surface. Form into a ball and cut in half. Form each half into a ball pinching raw sides together on underside. Roll ball back and forth until oblong shape is formed. Place each loaf into a well greased bread pan. Cover with wet towel and let rise for 1 more hour in warm spot.
- After the second rise place loaves in the center of a preheated oven and bake a 350 degrees until dark golden crust has formed on the top of bread. 30-45 minutes.
- Remove from oven, cool, and enjoy!
Links to items used!
Beautiful Nesting Measuring Cups
Magnetic Nesting Measuring Spoons
Bow Design Bread Cutting Knife – If you’re going to be making bread this knife is a needed purchase! It’s amazing!! (I wouldn’t let myself put “kneaded purchase” but I really wanted to..)
Fabric Bowl Covers – Mine were a handmade gift so I would definitely recommend trying your hand at making some for yourself!
Glass Bread Pans – Mine was a wedding gift 11 years ago, but these are some I’ve been thinking about snagging.
Pin for later!

Yum! This looks amazing and very straightforward. I’ll have to try it soon!
Yummy! This bread looks great for my favorite grilled cheese with basil pesto. Thanks for posting!
This sounds like a lovely sandwich bread! And so easy! I bet it would make a super awesome grilled cheese sandwich with tomato soup. That’s the first thing that popped in my mind! This is a great recipe with so many options, thanks for sharing!
Looks so tasty, thanks for sharing!! I love seeing all the many different ways that people make bread for their families. And beautiful pictures too!
Yum! I will definitely be trying this!
Having a solid bread recipe is a game changer in a kitchen. Can’t wait to try this one! Thanks for sharing. 🙂