
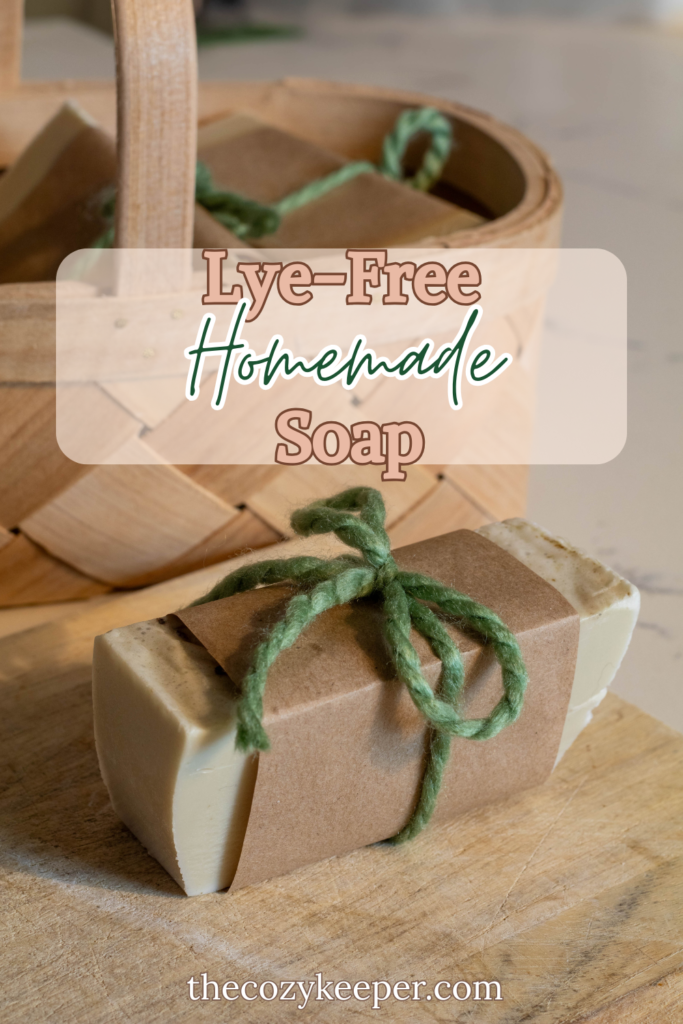
This easy, lye-free homemade soap is perfect for holiday gifting. A beginner-friendly soap recipe made simply at home.
For years I have wanted to make homemade soap. At one point I even went as far as too purchase all the ingredients needed. But I was a chicken and could not bring myself to mix that darn lye. But there is just something about the rustic look of a homemade bar of soap especially in gift baskets that I just adore.
Melt and pour soap is a great lye-free solution. You can color it and fragrant in however you want. You can even customize the benefits of the soap by adding your own ingredients like bentonite clay or an exfoliant.
One day I fully plan on concurring my fear and making soap from scratch. But until then this melt and pour method is a great alternative. Here’s how I made mine!
*DISCLAIMER*
I’m calling this a “Lye-Free” tutorial because you do not have to work with lye to make it. The soap base you choose may have been made with lye so if the ingredient itself is a concern be sure to read your ingredient list.
You’ll Need
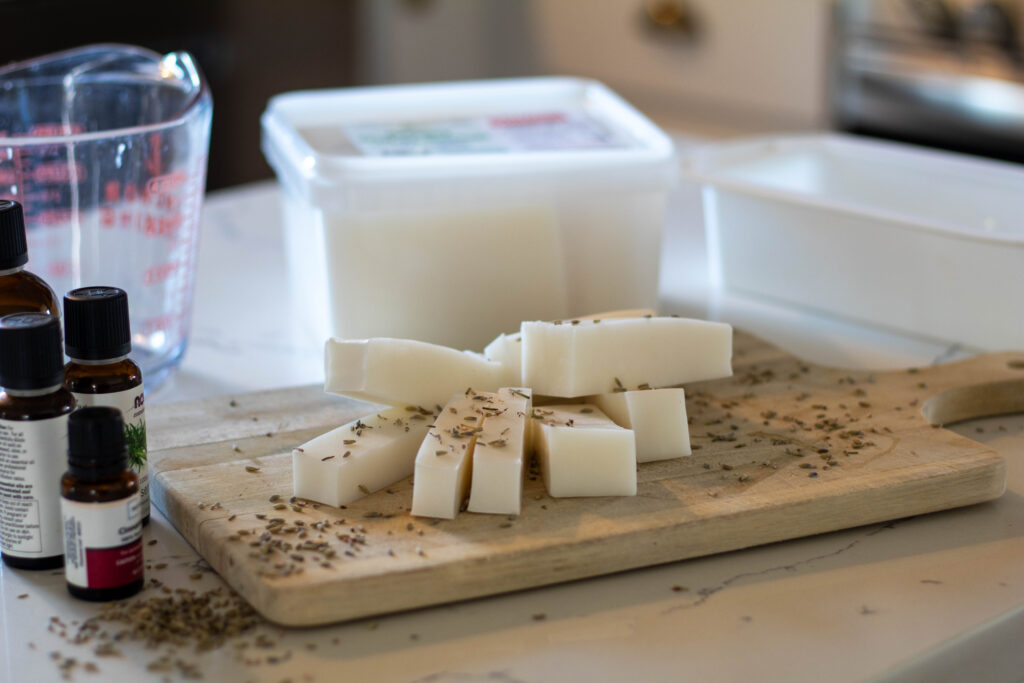
- 1 lb melt and pour soap base
I used a goat milk soap base from Hobby Lobby. - Coloring (optional)
I used bentonite clay and a little macha powder for a soft gray-green shade. - Fragrance
I prefer essential oils.
For this batch, I used rosemary and lavender. - Optional toppings
I topped mine with dried lavender.
Equipment
- Glass container with at least a 4-cup capacity
- Microwave or a large pot for a double boiler
- Soap mold
Silicone molds work well, or use a bread pan lined with parchment paper - Small cup for mixing color and fragrance
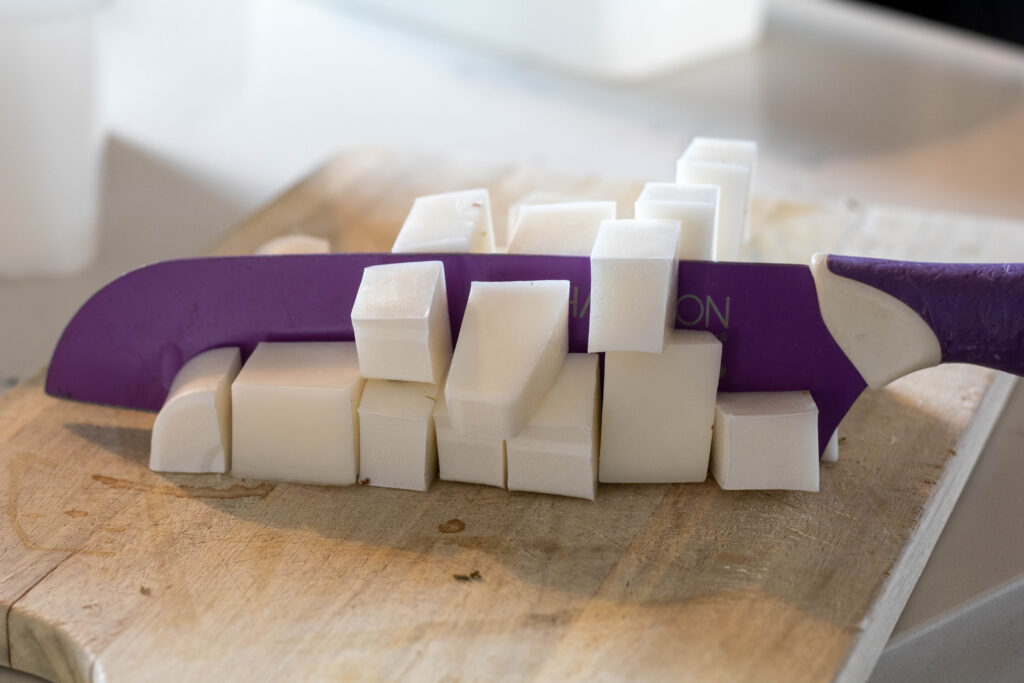
Step 1: Prepare the Soap Base
Start by cutting your soap base into small pieces.
I cut mine into cubes.
At this size, it took over 30 minutes to fully melt.
Next time, I plan to grate it using a cheese grater.
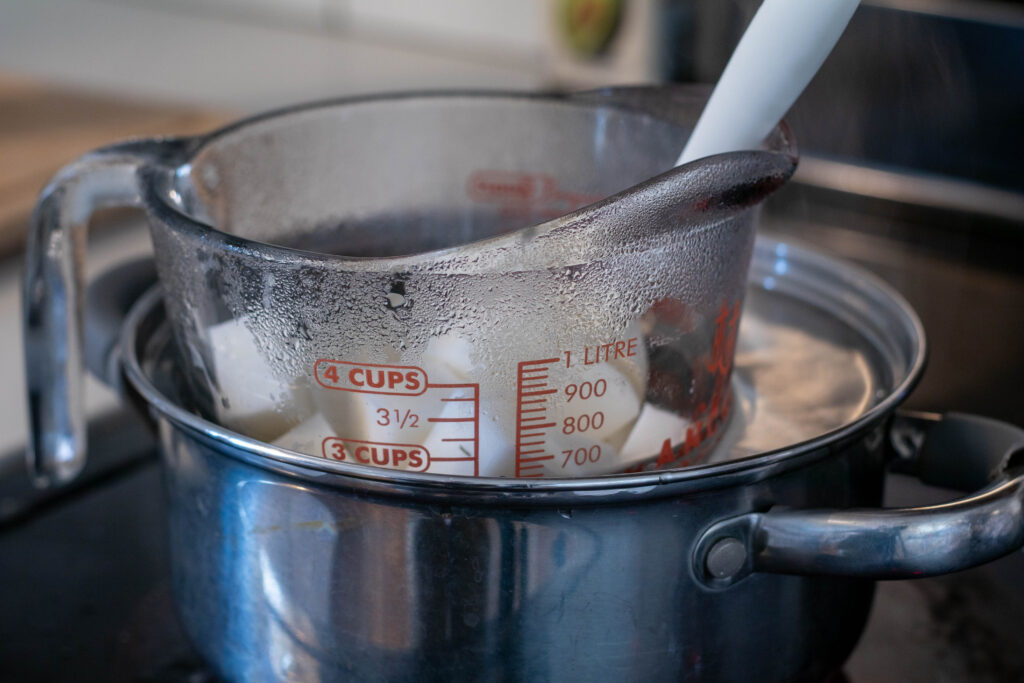
Step 2: Melt the Soap
Place the soap pieces into a microwave-safe container.
If microwaving, follow the package instructions.
Heat in short intervals and stir between each one.
If using a double boiler, place your glass container into a pot of water.
Bring the water to a gentle boil and stir the soap occasionally.
Continue heating until the soap is fully melted with no clumps.
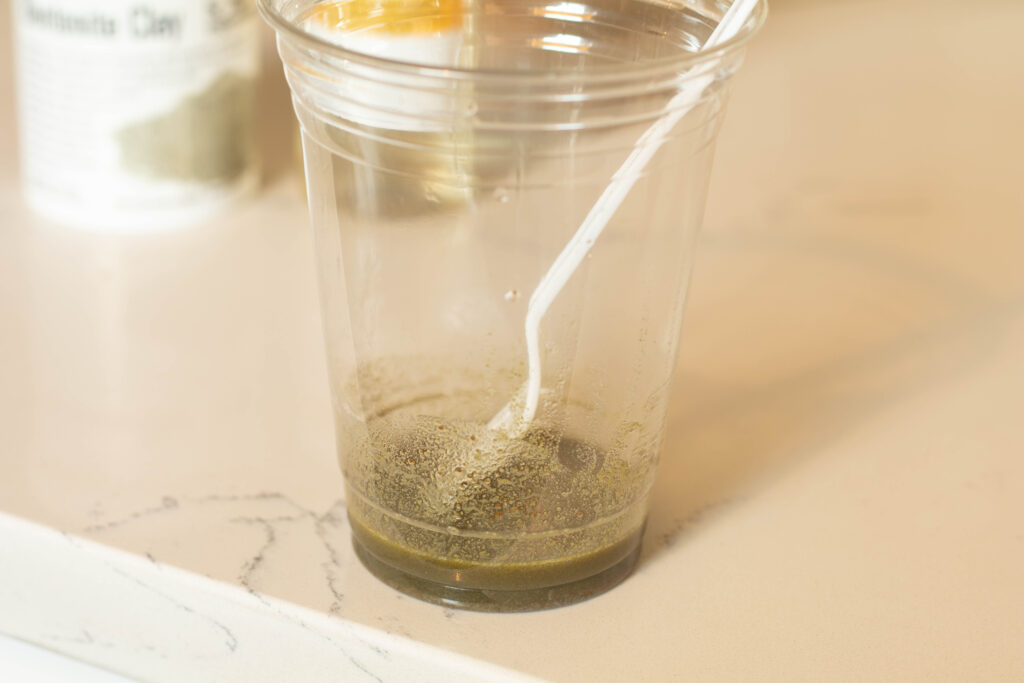
Step 3: Mix Color and Fragrance
Because I used a dry pigment, I mixed it with oil first before adding to soap base.
In a disposable cup, add about 2 tablespoons of almond oil. (I’m sure other oils would work as well!)
Stir in your pigment and essential oils.
This helps prevent clumping when adding it to the soap.
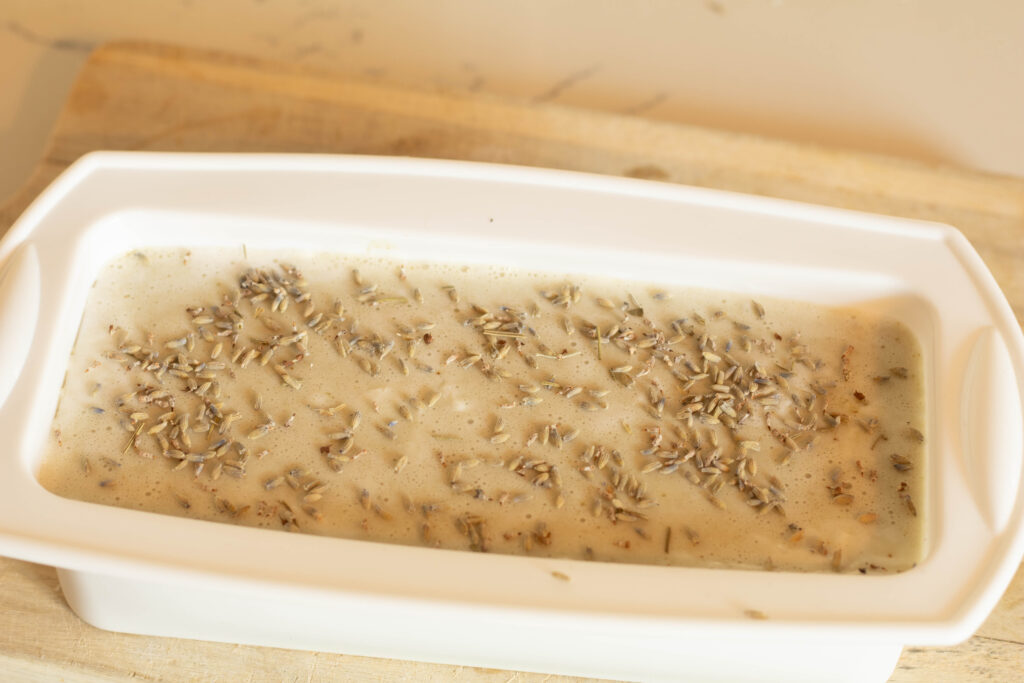
Step 4: Pour the Soap
Once the soap is fully melted, remove it from heat.
Add your fragrance or oil mixture and stir well.
Pour immediately into your prepared mold.
If using toppings, add them right away before the soap sets.
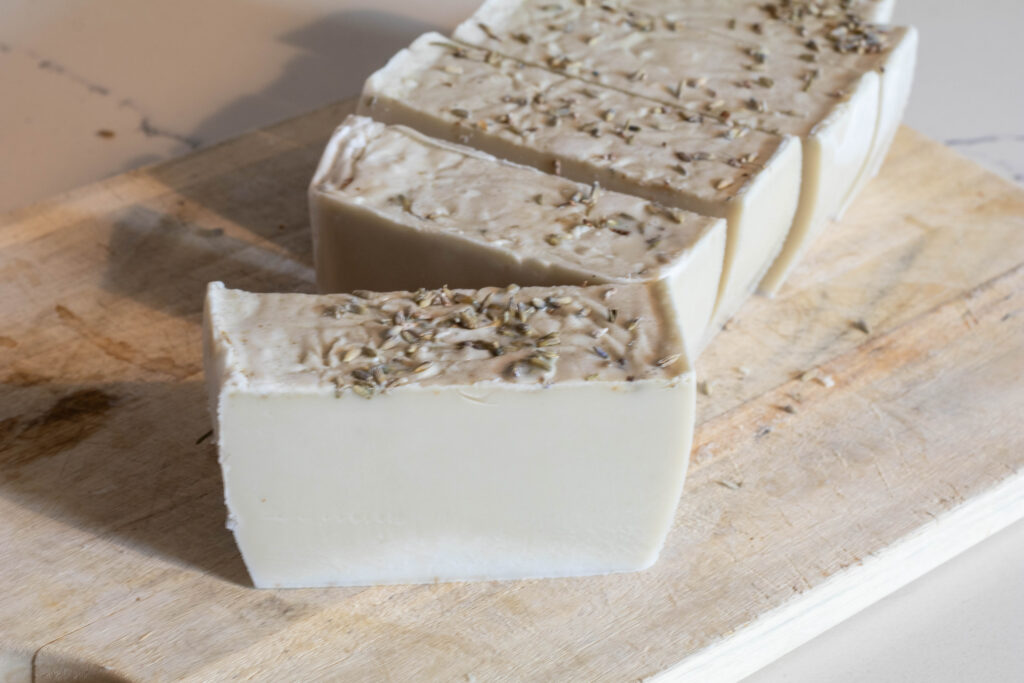
Step 5: Let It Set
Allow the soap to cool and harden completely.
Once firm, remove it from the mold.
Trim off the ends, then cut into even pieces.
A Few Fun Ideas to Try
- Use decorative soap molds to create beautiful shapes for gifting.
- Experiment with multiple colors to see what simple patterns and designs you can make.
- Pour in layers or swirls for a more playful, handmade look.
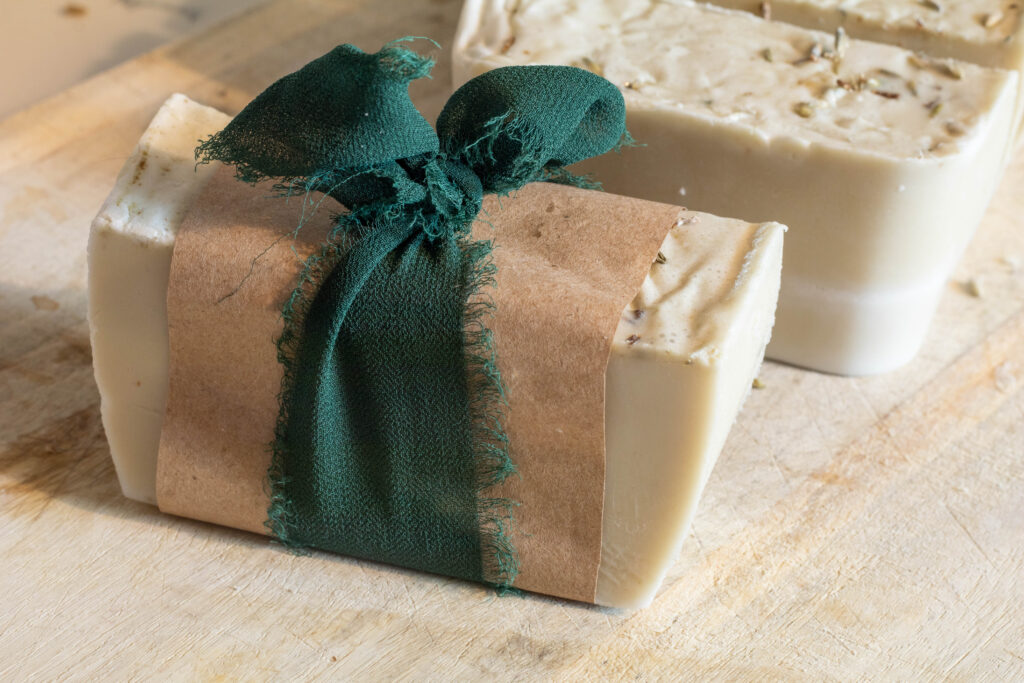
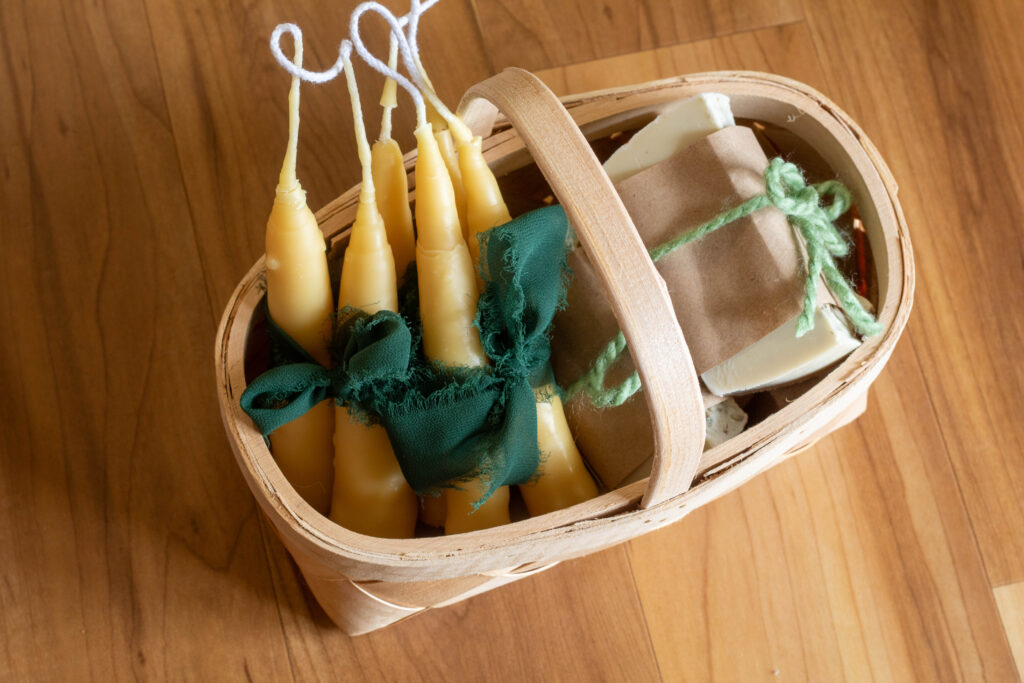
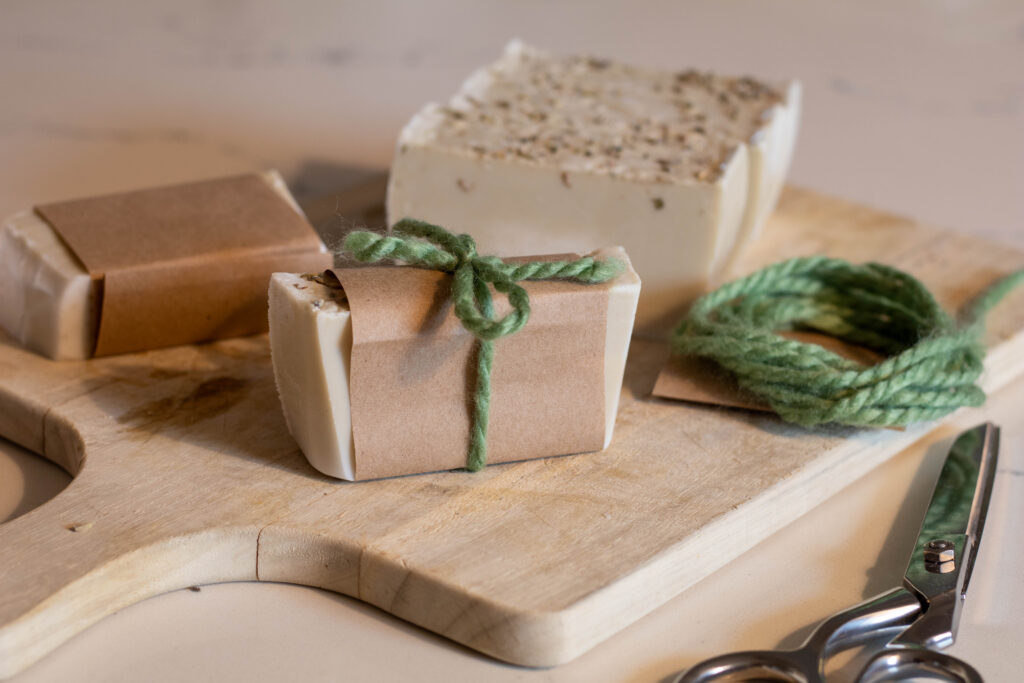
- Wrap finished soaps in parchment or kraft paper with twine for easy gifting.
- These soaps make lovely party favors, teacher gifts, or additions to gift baskets.
That it! That’s all there is to it. Its really hard to mess this up. Mine are in no way perfect. I was going for a green and white swirl and ended up with a creamy grey color. Because I was taking pictures the top solidified before I put my toppings on so a lot of them fell off. My cutting went awry and I ended of with a few slanted bars. But I have to say, I’m not mad at the rustic look of the end product.
I have found that the melt and pour soap leave behind more of a residue when handled. Since I planned on adding these to Christmas gift baskets I decided to wrap mine in a bit of brown paper. I wish I had some twine, but the ribbon and yarn I had on hand worked fine to add a pop of color.
Comment your thoughts!
Let me know if you try this! What are your go-to essential oil blends? (And if you’ve ever made homemade soap maybe comment some encouraging words for me!)
Pin for later!
[…] Homemade soap (you can check out my lye free homemade soap tutorial here!) […]