
If you’ve ever looked at pixel art and thought, “I could quilt that…” —you absolutely can.
This beginner-friendly guide to pixel art quilting will walk you through the full planning process, from design to finished quilt top. Whether you’re making a quilt, tote bag, or wall hanging, this method is both creative and incredibly satisfying.
Planning and Measuring Your Pixel Art Quilt
When starting pixel art quilting, the first two things you need to decide are:
- Your finished project size
- Your grid count (number of “pixels”)
For example, I used a 16×16 grid for my axolotl design. Some simpler quilt blocks, like Minecraft-style faces, may only use an 8×8 grid, while more detailed images require much larger grids.
If you’re working with a single image, begin by counting the height and width in pixels.
For example, in this image the penguin measures 24 pixels wide by 25 pixels tall. The widest point was wing to wing, while the longest point is foot to bow.
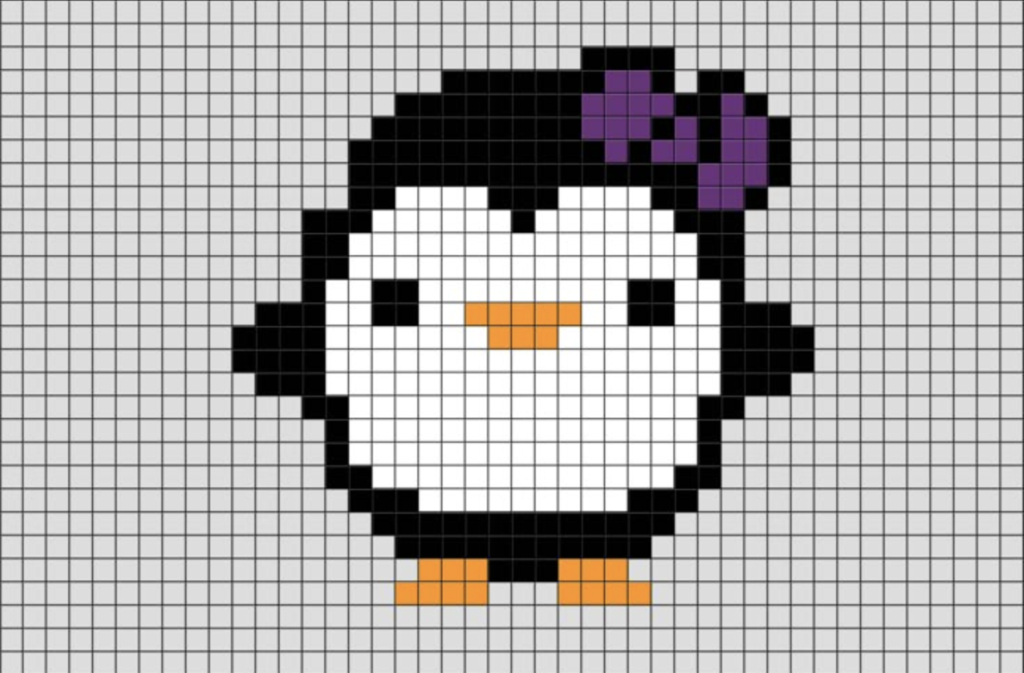
Not every part of the image fills that space evenly. One wing tip was only two pixels tall.
Because of this, you’ll likely need to add background pixels to create a clean square or rectangle. This allows you to choose the final size and look of your quilted project.
Choosing Your Square Size
Once your grid is finalized, you can determine your fabric square size.
If your project size is flexible, you can choose your square size first and build from there.
For my quilt top:
- Final size: 16” x 16”
- Grid: 16 x 16
- Finished square size: 1” x 1”
To account for seam allowances, I added ½ inch total to each square. This allows for a ¼ inch seam on each side.
So, I cut my fabric into 1.5” x 1.5” squares.
This step is essential in pixel art quilting, because even small miscalculations can affect your final size.
Designing Your Pixel Art Image
If you’re starting with a real image, there are many tools that can convert it into pixel art.
I found my inspiration image through a simple search, then used ReSprite on my iPad to create a 16×16 grid version.
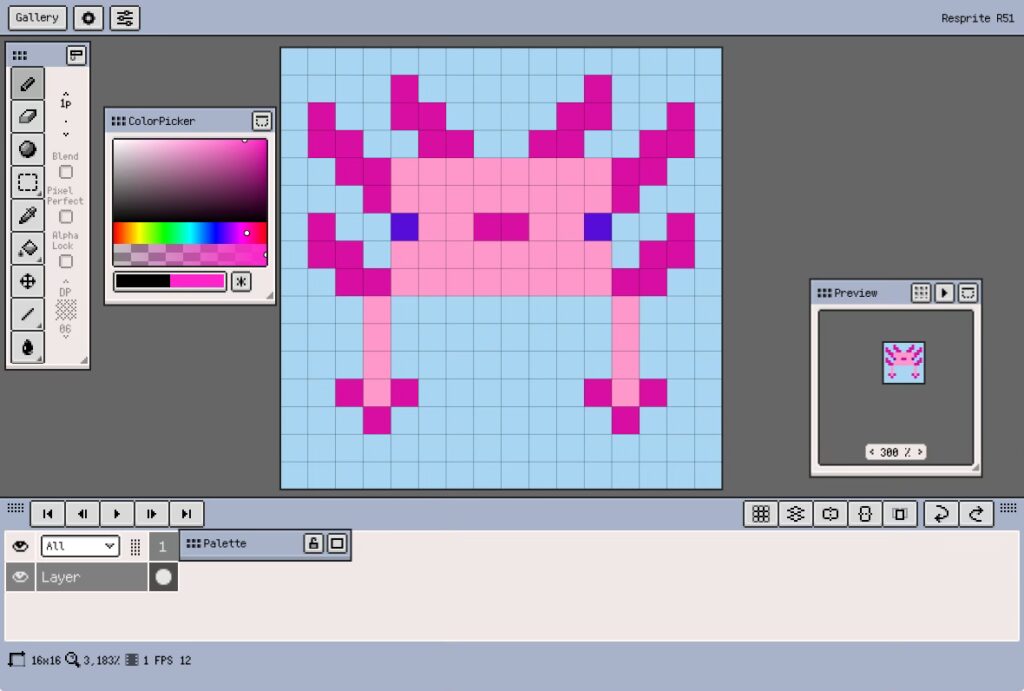
This was incredibly helpful. I always had a clear visual reference, complete with grid lines.
Having a clean pixel map makes the entire pixel art quilting process smoother and more enjoyable.
Choosing Fabric for Pixel Art Quilting
Once your design is complete, it’s time to choose fabric.

Ideally, your colors are already determined from your pixel design. If not, now is the time to finalize them.
If your design includes multiple shades of one color, create a color cheat sheet. Give each shade a simple name so you can track it easily.
For example:
- Light Pink
- Medium Pink
- Dark Pink
- Background Blue
You will need:
- A fabric for each color in your design
- Enough fabric to cut all required squares
- A background color
You’ll need to calculate how many squares of each color you need. From there, determine how much fabric to purchase.
Depending on your final project, you may also need:
- Batting
- Lining fabric
You can wait to purchase those until your quilt top is complete.
Cutting Your Fabric Squares
Once everything is planned, it’s time to cut.
Start by creating a cut list. Count how many squares you need for each color.
For my 16×16 axolotl, my cut list was:
- Hot pink – 40
- Baby pink – 44
- Purple – 2
- Background blue – 170
- 256 squares total
- Plus extras (always cut extras—small squares love to disappear)
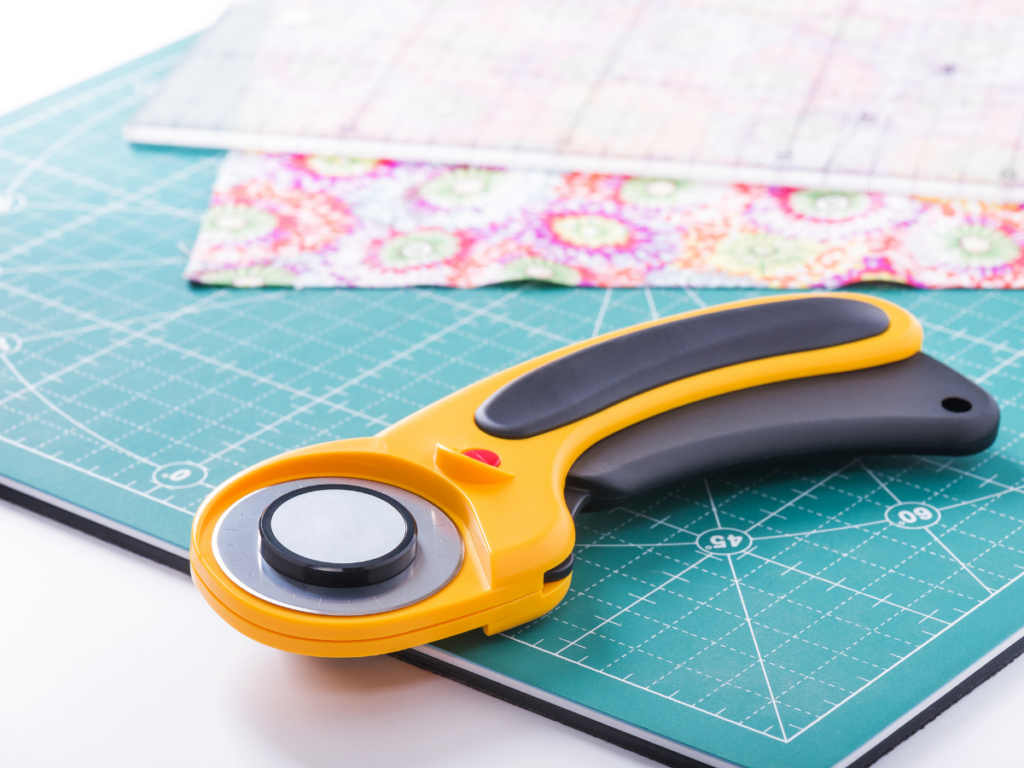
Because my squares were small, I drew a 1.5” grid directly onto my fabric using pencil.
Then:
- I used a rotary cutter and ruler to cut strips
- Each strip was 1.5” tall with marked lines
- I snipped along the lines using fabric scissors
This gave me clean 1.5” x 1.5” squares
You may prefer a different method depending on your square size. The key is finding a system that feels comfortable and repeatable.
Laying Out Your Design
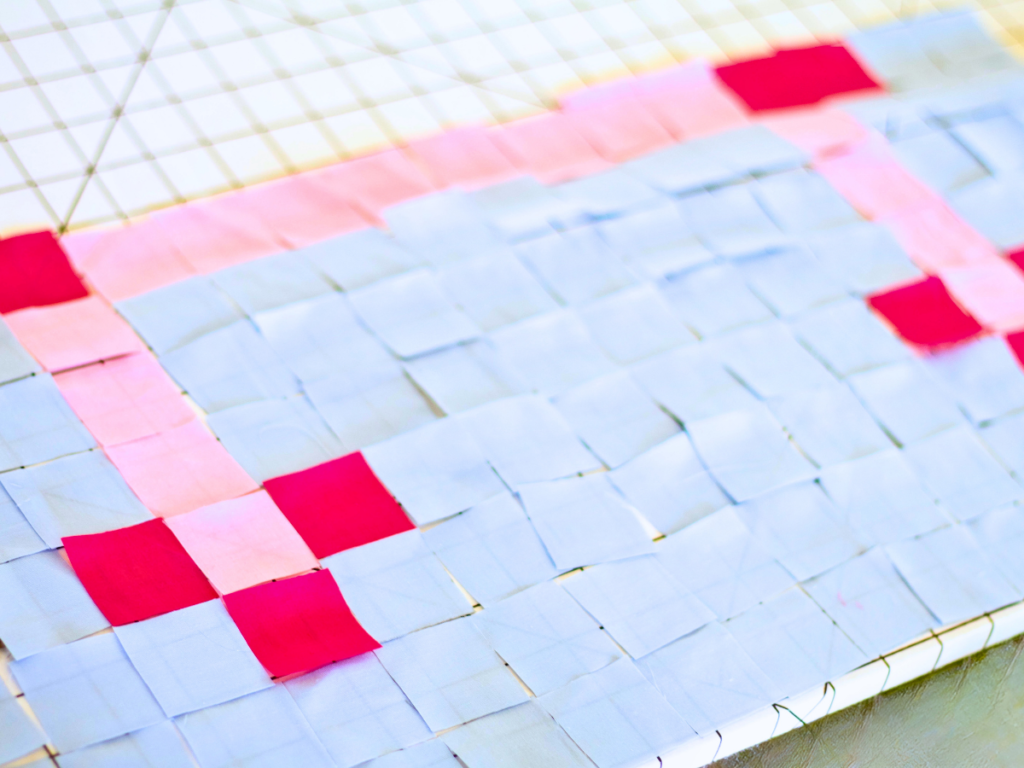
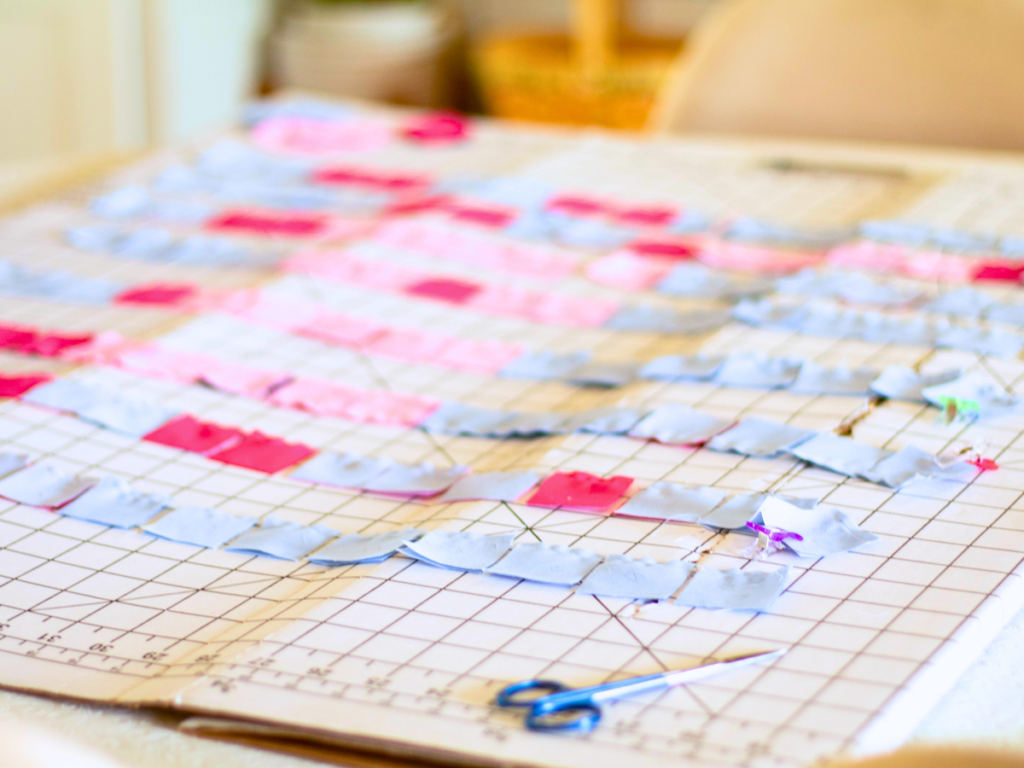
This step is both fun and slightly chaotic.
I laid out my full design on a board, one row at a time. It felt like a mix between a puzzle and paint-by-number.
However… this meant I had all 256 pieces in play at once.
Any small disturbance—movement, airflow, or curious children—risked scattering everything.
Reassembling the layout was time-consuming and frustrating.
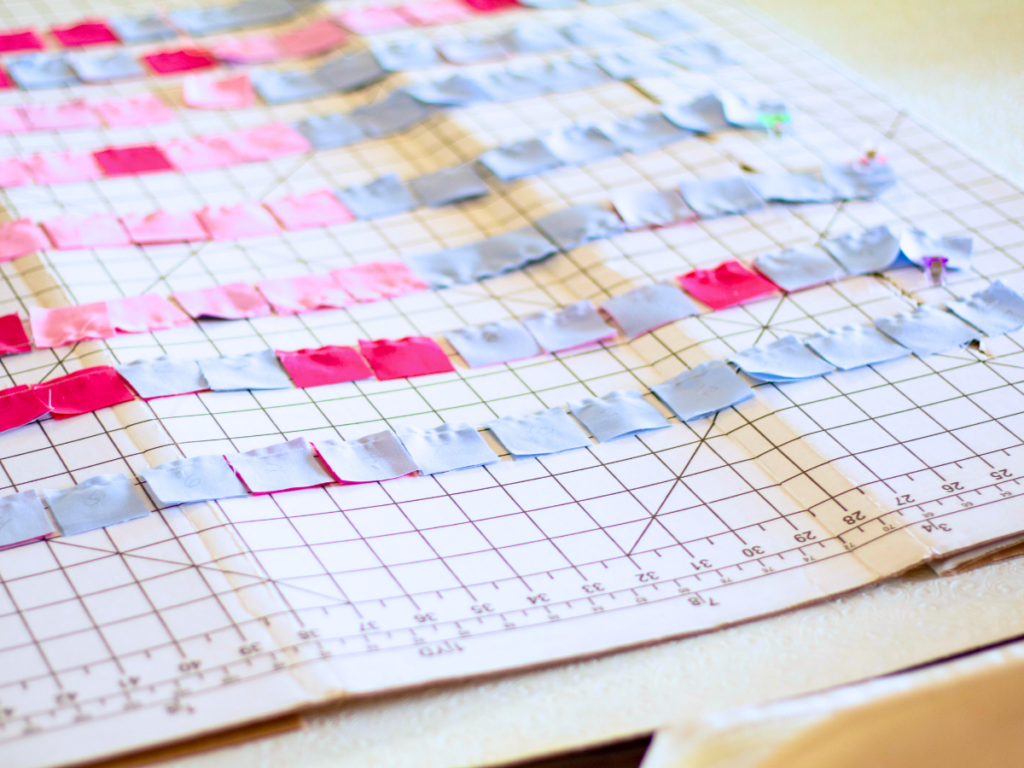
What I Would Do Differently
Next time, I would work one row at a time.
Here’s the improved method:
- Keep fabric squares sorted in containers
- Lay out a single row
- Sew neighboring pieces immediately
- Build the row into a completed strip
This approach is much more manageable, especially if you don’t have a dedicated sewing space.
To stay organized, use a grid system with labeled rows (like a bingo board). This ensures every piece goes exactly where it belongs.
Joining Your Pieces
Chain stitching is your best friend in pixel art quilting.
Instead of cutting thread after every seam, you sew continuously from one pair to the next.
Here’s how I kept things organized:
- Fold neighboring squares together in order
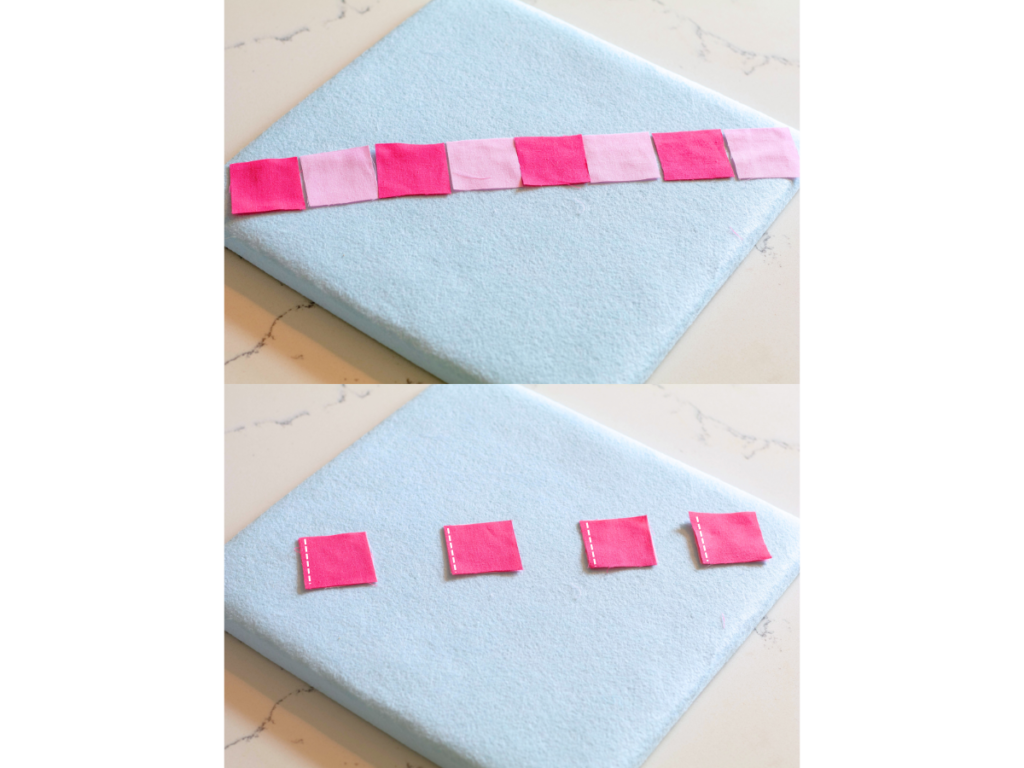
- Keep orientation consistent
- Mark sewing lines with a heat-erase pen
- Clip pieces together before sewing
Then:
- Feed pairs through the machine one after another
- At the end, sew onto a small thread scrap (a “thread bunny”) I learned this trick from Kate from The Last Homely House. It helps reduce thread waste and keeps everything tidy.
After sewing:
- Press seams (toward the darker fabric)
- Lay pieces back out in order
- Snip threads to separate
Once a full row is complete, label it on both ends so you don’t lose orientation later.
Repeat until all rows are finished.
Assembling the Quilt Top
Lay all completed rows out in order.
Double-check your design before moving forward.
Then:
- Fold every other row onto its neighbor
- Pin along the seams
- Sew rows together carefully
At this stage, your pixel art quilt top will really start to come to life.
Matching Seams (and Managing Expectations)
In a perfect world, every seam lines up perfectly. In reality… that’s not always the case. This was my biggest challenge, and honestly, a bit of a reality check.
If this happens to you, don’t give up.
Instead, focus on the seams that matter most—usually the ones that define your main image.
For my axolotl, I prioritized the seams that shaped the character against the background.
The rest? I let them be.
And in the end, it still looked passable.
Finishing Your Project
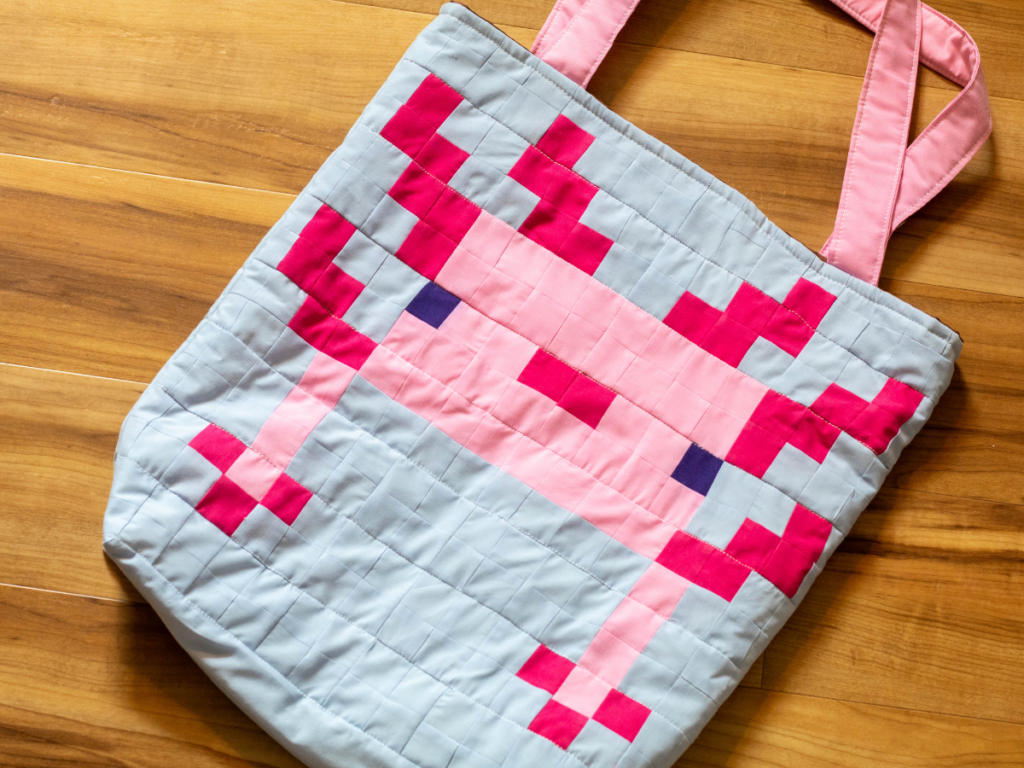
At this point, you have a finished quilt top.
What you do next depends on your project:
- Quilt → create a quilt sandwich
- Wall hanging → add backing and hanging method
- Tote bag → quilt onto batting and attach lining
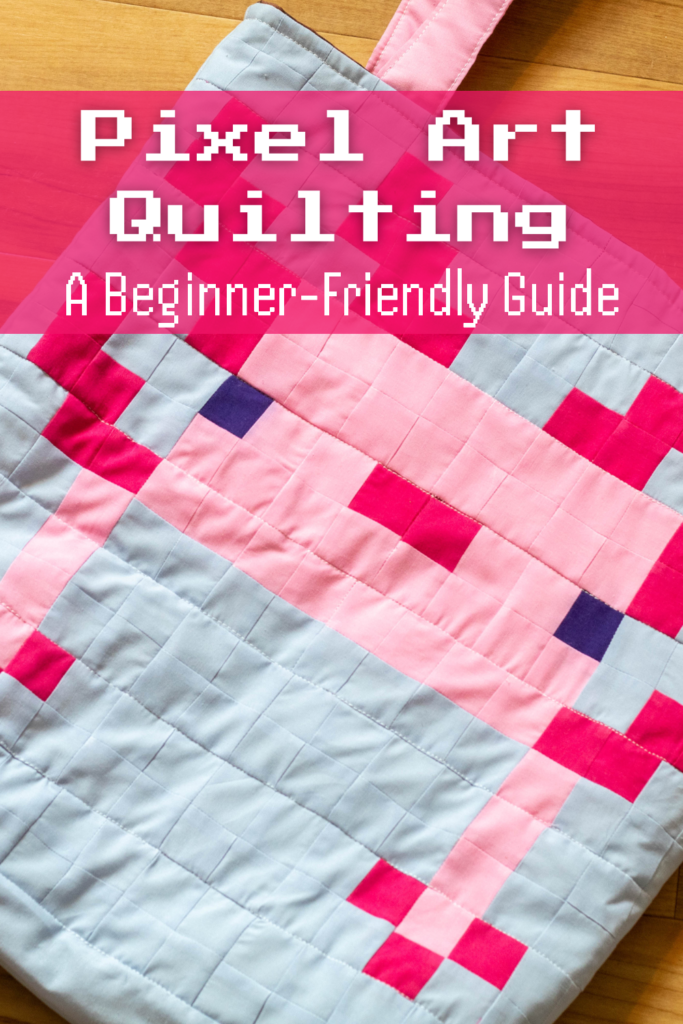
I chose to turn mine into a quilted tote bag for a giveaway on my Cozy Gamer Mom page.
For quilting, I stitched along the existing seam lines from when I joined the final strips. This helped preserve the clean-ish grid look.
Next time, I may hand quilt to keep stitches more hidden.
Closing Thoughts
I’m so happy with how this project turned out, but I’m even more excited to keep improving my pixel art quilting skills.
If you try this method, I would truly love to see your work. Tag me @thecozykeeperblog so I can cheer you on.
A Few Helpful Tips
- Use a heat-erase pen—but remember it disappears with heat
- Label everything (but don’t rely on labels forever)
- Always cut extra squares
- Fixing mistakes is easier with extra pieces
- Go slowly and give yourself grace
Most importantly—have fun.
This process feels like coloring with fabric, and there’s something so special about watching your design come to life, one square at a time!
Pin for Later!
Leave a Reply